How to install Docker and pull Nagios image on RHEL 7

Step 1. remove old version and install latest Docker
sudo yum remove docker docker-common docker-selinux docker-engine
sudo yum-config-manager –add-repo https://download.docker.com/linux/centos/docker-ce.repo
sudo yum install docker-ce

If you got: Docker Error – Requires: container-selinux >= 2:2.74
Solution:
Go to http://mirror.centos.org/centos/7/extras/x86_64/Packages/
Find the latest version for container-selinux i.e. container-selinux-2.21-1.el7.noarch.rpm
Run the following command on your terminal: $
sudo yum install -y yum install http://mirror.centos.org/centos/7/extras/x86_64/Packages/container-selinux-2.107-1.el7_6.noarch.rpm
yum install -y yum install http://mirror.centos.org/centos/7/extras/x86_64/Packages/fuse3-libs-3.6.1-4.el7.x86_64.rpm
yum install -y yum install http://mirror.centos.org/centos/7/extras/x86_64/Packages/fuse-overlayfs-0.7.2-6.el7_8.x86_64.rpm

Step 2. enable docker service and start it
$ sudo systemctl enable docker.service
$ sudo systemctl start docker.service ## <-- Start docker ##
$ sudo systemctl stop docker.service ## <-- Stop docker ##
$ sudo systemctl restart docker.service ## <-- Restart docker ##
$ sudo systemctl status docker.service ## <-- Get status of docker ##
$ ip a list docker0
$ docker run hello-world ## <– test your docker installation

Step 3. Get Nagios from https://hub.docker.com/r/jasonrivers/nagios/
docker pull jasonrivers/nagios:latest
docker run –name nagios4 -p 0.0.0.0:8080:80 jasonrivers/nagios:latest

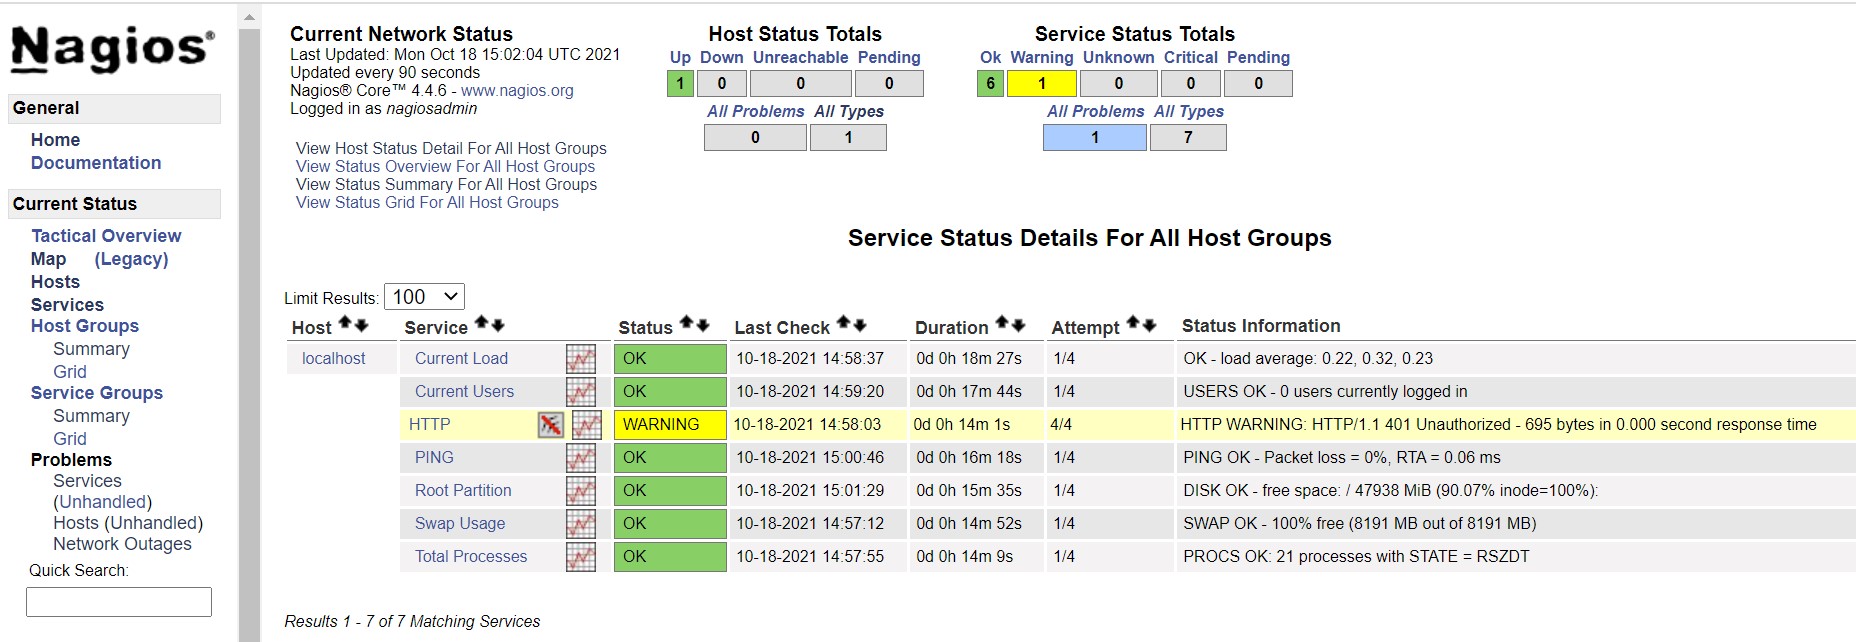
The default credentials for the web interface is nagiosadmin / nagios
alternatively you can use external Nagios configuration & log data with the following:

docker run --name nagios4  \
  -v /path-to-nagios/etc/:/opt/nagios/etc/ \
  -v /path-to-nagios/var:/opt/nagios/var/ \
  -v /path-to-custom-plugins:/opt/Custom-Nagios-Plugins \
  -v /path-to-nagiosgraph-var:/opt/nagiosgraph/var \
  -v /path-to-nagiosgraph-etc:/opt/nagiosgraph/etc \
  -p 0.0.0.0:8080:80 jasonrivers/nagios:latest

You can open it with http://your_server_ip:8080

Extra Plugins:
Nagios nrpe [http://exchange.nagios.org/directory/Addons/Monitoring-Agents/NRPE–2D-Nagios-Remote-Plugin-Executor/details]
Nagiosgraph [http://exchange.nagios.org/directory/Addons/Graphing-and-Trending/nagiosgraph/details]
JR-Nagios-Plugins – custom plugins I’ve created [https://github.com/JasonRivers/nagios-plugins]
WL-Nagios-Plugins – custom plugins from William Leibzon [https://github.com/willixix/WL-NagiosPlugins]
JE-Nagios-Plugins – custom plugins from Justin Ellison [https://github.com/justintime/nagios-plugins]

Step 4. How to edit file and restart nagios inside Docker
docker stop $(docker ps -a -q)
docker rm $(docker ps -a -q)
docker run –name nagios4 -v /root/nagios/etc/:/opt/nagios/etc/ -v /root/nagios/apache2/:/etc/apache2/ -p 0.0.0.0:8080:80 -it -d jasonrivers/nagios:latest

restart nagios inside Docker:
docker exec nagios4 rm etc/service/nagios
docker exec nagios4 ln -s /etc/sv/nagios /etc/service

create a flask application to monitor web url status

For each web environment we usually want to real time monitor our web link is down or not, here comes the solution:
1. build the url list
2. check the web link status
3. display the status on dashboard

STEP 1. Build the url list
We create load_urls.py to import list from csv file to sqlite db
run python3 load_list.py to import list

import sqlite3
import pandas as pd

# Import CSV
data = pd.read_csv('list.csv', engine='python')
df = pd.DataFrame(data)
print(df)
conn = sqlite3.connect('db.sqlite')
c = conn.cursor()

# delete all rows from table
c.execute('DELETE FROM User;',);
print('We have deleted', c.rowcount, 'records from the table.')

# Insert DataFrame to Table
for row in df.itertuples():
        c.execute("INSERT INTO User (app_name, app_url, app_status) VALUES (?,?,?)", (row.app_name, row.app_url, row.app_status))
conn.commit()

#close the connection
conn.close()

STEP 2. check the url status with curl command
setup cron job as below to do status check every 5 minutes:
*/5 * * * * /root/monitor/daily_check.sh >/dev/null 2>&1

import subprocess
from bootstrap_table import db, User
import pandas as pd

def api(cmd):
        p = subprocess.Popen(cmd, shell=True, stdout=subprocess.PIPE,
        stderr=subprocess.PIPE, universal_newlines=True)
        stdout, stderr = p.communicate()
        return stdout

def remote_bash(app_url):
        curl_cmd = "curl -kIs " + app_url + " --connect-timeout 5 | head -1"
        return curl_cmd

def status_check(app_output):
        substring = "200"
        if app_output.find(substring) != -1:
                return "UP"
        else:
                return "DOWN"

for row in User.query.all():
        curl_cmd = remote_bash(row.app_url)
        curl_out = api(curl_cmd)
        if status_check(curl_out) != row.app_status:
                # send alerts to TEAMS channel
                JSON = "curl -H \'Content-Type: application/json\' -d \'{\"text\": \"%s %s is %s\"}\' https://labcorp.webhook.office.com/webhookb2/f3c6c02d-d1a-46cb-b304-84f4460b98b0@cdc1229-ac2a-4b97-b78a-0e5cacb5865c/IncomingWebhook/57b24246ed804247a2f60841256c6d5e/d8062d41-34c8-475d-81b2-04465b429007" % (row.app_name, row.app_url, status_check(curl_out))
                api(JSON)
        row.app_status = status_check(curl_out)
db.session.commit()

STEP 3. display the status on dashboard (bootstrap_table.py)

from flask import Flask, render_template
from flask_sqlalchemy import SQLAlchemy

app = Flask(__name__)
app.config['SQLALCHEMY_DATABASE_URI'] = 'sqlite:///db.sqlite'
app.config['SQLALCHEMY_TRACK_MODIFICATIONS'] = False
db = SQLAlchemy(app)

class User(db.Model):
    id = db.Column(db.Integer, primary_key=True)
    app_name = db.Column(db.String(100), index=True)
    app_url = db.Column(db.String(200), index=True)
    app_status = db.Column(db.String(20), index=True)
db.create_all()
@app.route('/')
def index():
    users = User.query
    return render_template('bootstrap_table.html', title='Application Status Monitor',
                           users=users)
if __name__ == '__main__':
    app.run(host='0.0.0.0')

bootstrap_table.html

{% extends "base.html" %}

{% block content %}
  <table id="data" class="table table-striped">
    <thead>
      <tr>
        <th>app_name</th>
        <th>app_url</th>
        <th>app_status</th>

      </tr>
    </thead>
    <tbody>
      {% for user in users %}
        <tr>
          <td>{{ user.app_name }}</td>
          <td>{{ user.app_url }}</td>

            {% if user.app_status == "UP" %}
                <td style="color:#00FF00"><strong>{{ user.app_status }}</strong></td>
            {% else %}
                <td style="color:#FF0000"><strong>{{ user.app_status }}</strong></td>
            {% endif %}

        </tr>
      {% endfor %}
    </tbody>
  </table>
{% endblock %}

and base.html

<!doctype html>
<html>
  <head>
    <title>{{ title }}</title>
    <link href="https://cdn.jsdelivr.net/npm/bootstrap@5.0.1/dist/css/bootstrap.min.css" rel="stylesheet" integrity="sha384-+0n0xVW2eSR5OomGNYDnhzAbDsOXxcvSN1TPprVMTNDbiYZCxYbOOl7+AMvyTG2x" crossorigin="anonymous">
    <link rel="stylesheet" type="text/css" href="https://cdn.datatables.net/1.10.25/css/dataTables.bootstrap5.css">
  </head>
  <body>
    <div class="container">
      <h1>{{ title }}</h1>
      <hr>
      {% block content %}{% endblock %}
    </div>
    <script type="text/javascript" charset="utf8" src="https://code.jquery.com/jquery-3.6.0.min.js"></script>
    <script type="text/javascript" charset="utf8" src="https://cdn.datatables.net/1.10.25/js/jquery.dataTables.js"></script>
    <script type="text/javascript" charset="utf8" src="https://cdn.datatables.net/1.10.25/js/dataTables.bootstrap5.js"></script>
    {% block scripts %}{% endblock %}
  </body>
</html>