retrieve Stock Market data and generate Donchian Channels Chart

  1. use retrieve_data.py to get data for 600519
import tushare as ts
import time

st=ts.get_stock_basics()
print(st.head())
print((st.loc['600016']))
list1=['600016', '600519']

index=False
autype='hfq'
ktype='D'
ds='2018-01-01'
de=time.strftime('%Y-%m-%d', time.localtime(time.time()))
print(de)
i=0
for ss in list1:
    i=i+1
    print(i,ss)
    for autype in ['qfa', 'None', 'hfq']:
        for ktype in ['D', 'W', 'M']:
            pp=''
            if autype=='None':
                pp=pp+'none\\'
            if autype=='hfq':
                pp=pp+'hfq\\'
            if index==True:
                pp=pp+'index'

            kk=''
            if ktype=='D':
                kk=kk+'day\\'
            if ktype=='W':
                kk=kk+'week\\'
            if ktype=='M':
                kk=kk+'month\\'
            if ktype=='5':
                kk=kk+'minutes\\5\\'

            df1 = ts.get_k_data(ss,ktype=ktype,start=ds,index=index,autype=autype)
            ss1=kk+pp+ss+'.csv'
            print(ss1)
            df1.to_csv(ss1, encoding='gbk')

2. generate Donchian Channels Chart from the csv file

import pandas as pd
import numpy as np
import matplotlib.pyplot as plt
ChinaUnicom=pd.read_csv('600519.csv')
ChinaUnicom.index=ChinaUnicom.iloc[:,1]
ChinaUnicom.index=pd.to_datetime(ChinaUnicom.index, format='%Y-%m-%d')
ChinaUnicom=ChinaUnicom.iloc[:,2:]
Close=ChinaUnicom.close
High=ChinaUnicom.high
Low=ChinaUnicom.low
upboundDC=pd.Series(0.0,index=Close.index)
downboundDC=pd.Series(0.0,index=Close.index)
midboundDC=pd.Series(0.0,index=Close.index)
for i in range(20,len(Close)):
    upboundDC[i]=max(High[(i-20):i])
    downboundDC[i]=min(Low[(i-20):i])
    midboundDC[i]=0.5*(upboundDC[i]+downboundDC[i])
upboundDC=upboundDC[20:]
downboundDC=downboundDC[20:]
midboundDC= midboundDC[20:]
fig = plt.figure(figsize=(16, 8))
#plt.rcParams['font.sans-serif'] = ['SimHei']
plt.plot(Close['2020'],label="Close",color='k')
plt.plot(upboundDC['2020'],label="upboundDC",color='b',linestyle='dashed')
plt.plot(midboundDC['2020'],label="midboundDC",color='r',linestyle='-.')
plt.plot(downboundDC['2020'],label="downboundDC",color='b',linestyle='dashed')
plt.title("600519 Donchian channel 2020")
#plt.ylim(2.9,3.9)
plt.show()

Using records to query database

records is one of the Kenneth Reitz "for Humans" series.
we can use it to query all kinds of db.

import records
db = records.Database('postgres://...')  # connect to db
rows = db.query('select * from active_users')  # exec SQL
for r in rows:
    print(r.name, r.user_email)
print(rows.dataset)
# username|active|name      |user_email       |timezone
# --------|------|----------|-----------------|--------------------------
# model-t |True  |Henry Ford|model-t@gmail.com|2016-02-06 22:28:23.894202
# export to different format
print(rows.export('json'))  # json
print(rows.export('csv'))  # csv
print(rows.export('yaml')) # yaml
rows.export('df')  # pandas df
with open('report.xls', 'wb') as f:
    f.write(rows.export('xls'))  # xls

python-fire generate CLI for your python code

after pip install fire, you can use it in your code:

import fire
class Example(object):
    def hello(self, name='world'):
        """Says hello to the specified name."""
        return 'Hello {name}!'.format(name=name)
def main():
    fire.Fire(Example)
if __name__ == '__main__':
    main()

Test this example.py:
$ ./example.py hello
Hello world!
$ ./example.py hello David
Hello David!
$ ./example.py hello --name=Google
Hello Google!

Sending email in python

except smtplib, we can use zmail and yagmail.

  1. pip3 install zmail

    class ZMailObject(object):
    def __init__(self):
        self.username = '**@126.com'
        self.authorization_code = 'auth code'
        self.server = zmail.server(self.username, self.authorization_code)
        mail_body = {
        'subject': '***',
        'content_text': '***',  # text or HTML
        'attachments': ['./attachments/report.png'], }
        mail_to = "***"
        self.server.send_mail(mail_to, mail_body)
  2. pip3 install yagmail

    import yagmail
    yag_server = yagmail.SMTP(user='**@126.com', password='authorization_code', host='smtp.126.com')
    email_to = ['**@qq.com', ]
    email_title = '***'
    email_content = "***"
    email_attachments = ['./attachments/report.png', ]
    yag_server.send(email_to, email_title, email_content, email_attachments)
    yag_server.close()
  3. use smtplib and your gmail account to send email
    you need Turn on "Less secure app access" on your gmail account settings, then send it with code:

    import smtplib
    from email.mime.multipart import MIMEMultipart
    from email.mime.text import MIMEText
    me = "youremail@gmail.com"
    my_password = r"****"
    you = "receiver@hotmail.com"
    msg = MIMEMultipart('alternative')
    msg['Subject'] = "Alert"
    msg['From'] = me
    msg['To'] = you
    html = '<html><body><p>Hi, I have the following alerts for you!</p></body></html>'
    part2 = MIMEText(html, 'html')
    msg.attach(part2)
    # Send the message via gmail's regular server, over SSL - passwords are being sent, afterall
    s = smtplib.SMTP_SSL('smtp.gmail.com', 465)
    # uncomment if interested in the actual smtp conversation
    # s.set_debuglevel(1)
    # do the smtp auth; sends ehlo if it hasn't been sent already
    s.login(me, my_password)
    s.sendmail(me, you, msg.as_string())
    s.quit()

install Flask-User-0.6.21 for flask authentication

we need pip install "Flask-User<0.7" first.
then write app.py:

from flask import Flask
from flask_sqlalchemy import SQLAlchemy
from flask_user import login_required, UserManager, UserMixin, SQLAlchemyAdapter
db = SQLAlchemy()
app = Flask(__name__)

app.config['SECRET_KEY'] = 'thisisalkesdf'
app.config['SQLALCHEMY_DATABASE_URI'] = 'sqlite:///db.sqlite'
app.config['SQLALCHEMY_TRACK_MODIFICATIONS'] = False
db.init_app(app)
app.config['CSRF_ENABLED'] = True
app.config['USER_ENABLE_EMAIL'] = False

db = SQLAlchemy(app)

class User(db.Model, UserMixin):
    id = db.Column(db.Integer, primary_key=True)
    username = db.Column(db.String(50), nullable=False, unique=True)
    password = db.Column(db.String(255), nullable=False, server_default='')
    active = db.Column(db.Boolean(), nullable=False, server_default='0')

db_adapter = SQLAlchemyAdapter(db, User)
user_manager = UserManager(db_adapter, app)

@app.route('/')
def index():
    return '<h1>This is the home page!</h1>'

@app.route('/profile')
@login_required
def profile():
    return '<h1>This is the protected profile page!</h1>'

if __name__ == '__main__':
    app.run(debug=True)

create db as below:

C:\Users\zhuby>python
Python 3.8.3 (tags/v3.8.3:6f8c832, May 13 2020, 22:37:02) [MSC v.1924 64 bit (AMD64)] on win32
Type "help", "copyright", "credits" or "license" for more information.
>>> from app import db
>>> db.create_all()

then you start app with: python app.py
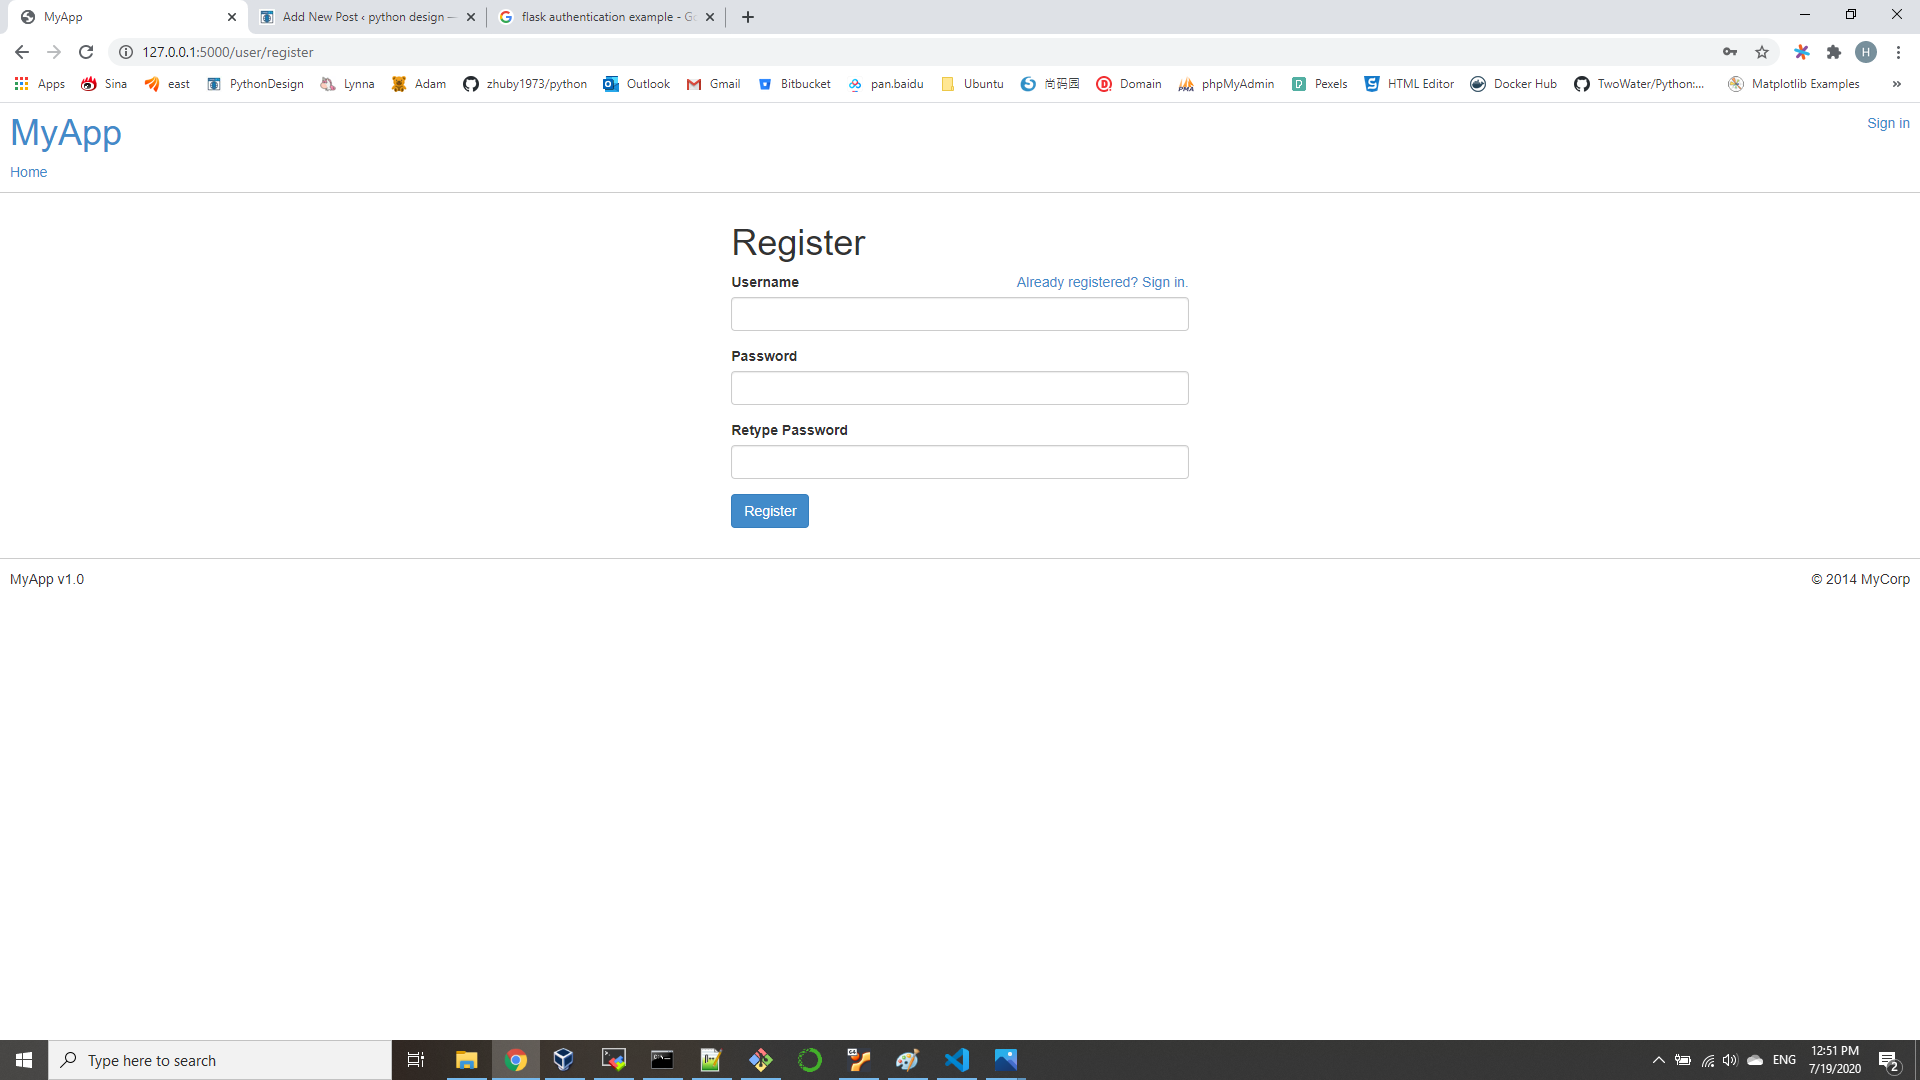
you can open http://127.0.0.1:5000/ and register ID to access http://127.0.0.1:5000/profile

(if you remove @login_required then you don’t need login)

python ldap3

If you install ldap3==2.5 on python 3.8, you will get error message: strategy.async import AsyncStrategy.
the reason is async and await have become keywords from Python 3.7!

ldap3==2.4.1 is working good on python 3.7/8

(base) ubuntu@ubunu2004:~$ pip install ldap3==2.4.1
test the LDAP connection with sample code:

from ldap3 import Server, Connection, ALL
server = Server('localhost', get_info=ALL)
conn = Connection(server, 'cn=admin,dc=linuxvmimagrs,dc=local', 'pas8word', auto_bind=True)
conn.search('dc=linuxvmimagrs,dc=local', '(objectclass=person)')
print(conn.entries)

(base) ubuntu@ubunu2004:~$ python test.py
[DN: uid=hanszhu,ou=people,dc=linuxvmimagrs,dc=local – STATUS: Read – READ TIME: 2020-07-15T22:21:43.384934

we can get more examples:
https://www.programcreek.com/python/example/107944/ldap3.ALL

Using selenium login pan.baidu.com with cookie

we relsoved two issues in this code:

  1. login with cookie
  2. close the popup window after login.
    here is the code:

    import requests
    import time
    from selenium import webdriver
    PATH = "C:\Program Files\chromedriver.exe"
    driver = webdriver.Chrome(PATH)
    url = "https://pan.baidu.com/disk/home#/all?path=%2F&vmode=list"
    driver.get(url)
    cookies = {
    "BDUSS": "your_BDUSS",
    "STOKEN": "your_STOKEN",
    "domain": "pan.baidu.com"
    }
    response_cookies_browser = [{'name':name, 'value':value} for name, value in cookies.items()]
    c = [driver.add_cookie(c) for c in response_cookies_browser]
    #the browser now contains the cookies generated from the authentication    
    driver.get(url)
    #wait 10 seconds for the popup window, so we can click the close button 
    time.sleep(10)
    driver.find_elements_by_xpath('.//span[@class = "dialog-icon dialog-close icon icon-close"]')[-1].click()

3 methods create a new database using SQLAlchemy

1. create_db.py

import sqlalchemy
from urllib import parse
engine = sqlalchemy.create_engine('mysql://zhuby:%s@192.168.0.43' % parse.unquote_plus('somIUpass#98'))
engine.execute("CREATE DATABASE TESTDB") #create db
engine.execute("USE TESTDB") # select new db

2. create_db2.py

import sqlalchemy
from urllib import parse
from sqlalchemy_utils import database_exists, create_database

engine = sqlalchemy.create_engine('mysql://zhuby:%s@192.168.0.43/EmployeeDB3' % parse.unquote_plus('somIUpass#98'))

if not database_exists(engine.url):
    create_database(engine.url)

print(database_exists(engine.url))

3. create_db3.py

from sqlalchemy import create_engine
user = 'zhuby'
password = 'somIUpass#98'
host = '192.168.0.43'
port = '3306'
db = 'NEWDB2'
# This engine just used to query for list of databases
mysql_engine = create_engine('mysql://{0}:{1}@{2}:{3}'.format(user, password, host, port))
# Query for existing databases
mysql_engine.execute("CREATE DATABASE IF NOT EXISTS {0} ".format(db))
# Go ahead and use this engine
db_engine = create_engine('mysql://{0}:{1}@{2}:{3}/{4}'.format(user, password, host, port, db))

python connect to MQServer

  1. we need install mqsdk and mqclient before install pymqi
    sudo apt install ./ibmmq-sdk_9.1.5.0_amd64.deb
    sudo apt install ./ibmmq-client_9.1.5.0_amd64.deb
    pip install pymqi
    export LD_LIBRARY_PATH=/opt/mqm/lib64:$LD_LIBRARY_PATH

  2. create qmgr, channel and LISTENER on MQ server
    https://www.ibm.com/support/knowledgecenter/SSFKSJ_7.5.0/com.ibm.mq.ins.doc/q009310_.htm
    https://dsuch.github.io/pymqi/examples.html
    create a user ID on the server that is not in the mqm group.
    useradd testid
    passwd testid
    su – mqm

    mqm@ubunu2004:~$ crtmqm QUEUE.MANAGER.1
    mqm@ubunu2004:~$ strmqm QUEUE.MANAGER.1
    mqm@ubunu2004:~$ runmqsc QUEUE.MANAGER.1
    5724-H72 (C) Copyright IBM Corp. 1994, 2020.
    Starting MQSC for queue manager QUEUE.MANAGER.1.
    AMQ8521I: Command completion and history unavailable.
    DEFINE QLOCAL (QUEUE1)
     1 : DEFINE QLOCAL (QUEUE1)
    AMQ8006I: IBM MQ queue created.
    SET AUTHREC PROFILE(QUEUE1) OBJTYPE(QUEUE) PRINCIPAL('testid') AUTHADD(PUT,GET)
     2 : SET AUTHREC PROFILE(QUEUE1) OBJTYPE(QUEUE) PRINCIPAL('testid') AUTHADD(PUT,GET)
    AMQ8862I: IBM MQ authority record set.
    SET AUTHREC OBJTYPE(QMGR) PRINCIPAL('testid') AUTHADD(CONNECT)
     3 : SET AUTHREC OBJTYPE(QMGR) PRINCIPAL('testid') AUTHADD(CONNECT)
    AMQ8862I: IBM MQ authority record set.
    DEFINE CHANNEL (CHANNEL1) CHLTYPE (SVRCONN) TRPTYPE (TCP)
     4 : DEFINE CHANNEL (CHANNEL1) CHLTYPE (SVRCONN) TRPTYPE (TCP)
    AMQ8014I: IBM MQ channel created.
    SET CHLAUTH(CHANNEL1) TYPE(ADDRESSMAP) ADDRESS('192.168.0.43') MCAUSER('testid')
     5 : SET CHLAUTH(CHANNEL1) TYPE(ADDRESSMAP) ADDRESS('192.168.0.43') MCAUSER('testid')
    AMQ8877I: IBM MQ channel authentication record set.
    DEFINE LISTENER (LISTENER1) TRPTYPE (TCP) CONTROL (QMGR) PORT (1415)
     6 : DEFINE LISTENER (LISTENER1) TRPTYPE (TCP) CONTROL (QMGR) PORT (1415)
    AMQ8626I: IBM MQ listener created.
    START LISTENER (LISTENER1)
     7 : START LISTENER (LISTENER1)
    AMQ8021I: Request to start IBM MQ listener accepted.
  3. test_mq.py

    import pymqi
    queue_manager = "QUEUE.MANAGER.1"
    channel = "CHANNEL1"
    host = "192.168.0.43"
    port = "1415"
    queue_name = 'QUEUE1'
    message = 'Hello from Python!'
    conn_info = "%s(%s)" % (host, port)
    user = 'testid'
    password = 'password'
    qmgr = pymqi.connect(queue_manager, channel, conn_info, user, password)
    queue = pymqi.Queue(qmgr, queue_name)
    queue.put(message)
    queue.close()
    qmgr.disconnect()

    (base) ubuntu@ubunu2004:~$ python test_mq.py
    then you can verify it with amqsget:

    mqm@ubunu2004:/opt/mqm/samp/bin$ ./amqsget QUEUE1 QUEUE.MANAGER.1
    Sample AMQSGET0 start
    message <Hello from Python!>
    no more messages
    Sample AMQSGET0 end

Using Flask-Script

from flask import Flask
from flask_sqlalchemy import SQLAlchemy
from flask_script import Manager
from flask_migrate import Migrate, MigrateCommand
from urllib import parse
app = Flask(__name__)
app.config['SQLALCHEMY_DATABASE_URI'] = 'mysql+pymysql://zhuby:%s@192.168.0.43/EmployeeDB' % parse.unquote_plus('somIUpass#98')

db = SQLAlchemy(app)
migrate = Migrate(app, db)

manager = Manager(app)
manager.add_command('db', MigrateCommand)

class User(db.Model):
    id = db.Column(db.Integer, primary_key=True)
    name = db.Column(db.String(128))

if __name__ == '__main__':
    manager.run()

Assuming the above script is stored in a file named manage.py, all the database migration commands can be accessed by running the script:

$ python manage.py db init
$ python manage.py db migrate
$ python manage.py db upgrade
$ python manage.py db --help