Using ansible-vault to store ssh and sudo password

  1. edit /etc/ansible/ansible.cfg
    host_key_checking = False
  2. edit /etc/ansible/hosts
    [all:vars]
    ansible_connection=ssh
    ansible_ssh_user=your_sshid
    ansible_ssh_pass=your_sshpassword
    ansible_sudo_pass=your_sudopassword
    [appservers]
    192.168.0.[1-3]
  3. edit playbook.yml
---
-hosts: all
 vars_files:
 - vars.yml
 tasks:
  -name: download file from link
   get_url:
    url:http://github.com/test.txt
    dest: /tmp/test.txt
    mode: 0755
  -name: ensure directory exists
   file:
     path: "{{ jboss_conf_location }}"
     state: directory
     owner: jboss
     group: jboss
  -name: copy file
   command: >
     cp /tmp/test.txt {{ jboss_conf_location }}
   become: yes
   become_user: jboss
  -name: remove file
   file:
     path: "{{ jboss_conf_location }}/test.txt"
     state: absent
   become: yes
   become_user: jboss   

then you can run it with ansible-playbook playbook.yml

there is another way to store password, ansible-vault create passwd.yml

ansible_ssh_user: your_sshid
ansible_ssh_pass: your_sshpassword
ansible_sudo_pass: your_sudopassword

then you can run it with command:

ansible-playbook --ask-vault-pass --extra-vars '@passwd.yml' playbook.yml

you can run Shell command with sudo password input:

ansible appservers -m shell -a "source /home/pm2/.bashrc && pm2 status" -b --become-user=pm2 -K

scp files:

- name: Copy configuration files.
  copy:
    src: "{{ item.src }}"
    dest: "{{ item.dest }}"
    owner: root
    group: root
    mode: 0644
  with_items:
    - src: httpd.conf
      dest: /etc/httpd/conf/httpd.conf
    - src: httpd-vhosts.conf
      dest: /etc/httpd/conf/httpd-vhosts.conf

Make sure Apache or other service is started now and at boot:

- name: Make sure Apache is started now and at boot
  service: name=httpd state=started enabled=yes

yum install apache or other packages:

- name: Install Apache.
  yum:
    name:
      - httpd
      - httpd-devel
    state: present

lineinfile edit:

- name: Adjust OpCache memory setting.
  lineinfile:
    dest: "/etc/php/7.1/apache2/conf.d/10-opcache.ini"
    regexp: "^opcache.memory_consumption"
    line: "opcache.memory_consumption = 96"
    state: present
  notify: restart apache

git clone:

- name: Check out drush 8.x branch.
  git:
    repo: https://github.com/drush-ops/drush.git
    version: 8.x
    dest: /opt/drush

run command in one line:

- name: Install Drush dependencies with Composer.
  command: >
    /usr/local/bin/composer install
    chdir=/opt/drush
    creates=/opt/drush/vendor/autoload.php

create file link:

- name: Create drush bin symlink.
  file:
    src: /opt/drush/drush
    dest: /usr/local/bin/drush
    state: link

list files in directory:

    - shell: 'ls -ltr /opt/jboss/log/'
      register: ps

    - debug: var=ps.stdout_lines

install your own private RTMP server on Ubuntu 20.04

Step 1: Install NGINX Dependencies
RTMP has 3 Dependencies: OpenSSL, PCRE and Zlib.
Ubuntu 20.04 already has default OpenSSL, PCRE, we only need install Zlib:

wget http://zlib.net/zlib-1.2.11.tar.gz
tar -zxf zlib-1.2.11.tar.gz
cd zlib-1.2.11
./configure
make
sudo make install

Step 2: Installing nginx with RTMP module

$ sudo apt-get install build-essential libpcre3 libpcre3-dev libssl-dev
$ wget http://nginx.org/download/nginx-1.15.1.tar.gz
$ wget https://github.com/sergey-dryabzhinsky/nginx-rtmp-module/archive/dev.zip
$ tar -zxvf nginx-1.15.1.tar.gz
$ unzip dev.zip
$ cd nginx-1.15.1
$ ./configure --with-http_ssl_module --add-module=../nginx-rtmp-module-dev
$ make
$ sudo make install
$ sudo /usr/local/nginx/sbin/nginx

And to test to make sure nginx is running, point your browser to http:/// and you should get the "Welcome to nginx!" page.

Step 3: Configuring nginx to use RTMP
Open your config file, located by default at /usr/local/nginx/conf/nginx.conf and add the following at the very end of the file:

rtmp {
        server {
                listen 1935;
                chunk_size 4096;

                application live {
                        live on;
                        record off;
                }
        }
}

Restart nginx with:
$ sudo /usr/local/nginx/sbin/nginx -s stop
$ sudo /usr/local/nginx/sbin/nginx

Step 4: Testing!
Download OBS Studio from https://obsproject.com/ and install it.
Download https://get.videolan.org/vlc/3.0.11/win32/vlc-3.0.11-win32.exe and install it.
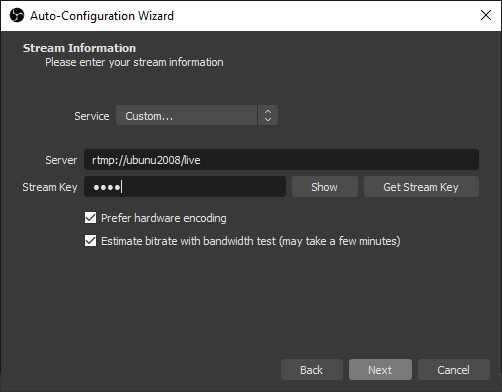
Create a new profile in OBS, and change your Broadcast Settings thusly:

Streaming Service: Custom
Server: rtmp://<your server ip>/live
Play Path/Stream Key: test

add a Text source "hello rtmp!"


and open your VLC, Open Network Stream with rtmp://ubunu2008/live/test, you will see:

install OpenLDAP Server and LDAP Account Manager on Ubuntu 20.04

Step 1: install OpenLDAP Server
sudo apt update
sudo apt -y install slapd ldap-utils
During the installation, you’ll be prompted to set LDAP admin password.
You can confirm that your installation was successful using the commandslapcat to output SLAPD database contents:

root@ubunu2004:~# slapcat
dn: dc=linuxvmimagrs,dc=local
objectClass: top
objectClass: dcObject
objectClass: organization
o: linuxvmimagrs.local
dc: linuxvmimagrs
structuralObjectClass: organization
entryUUID: a95871c2-5a53-103a-961d-11b344dacd95
creatorsName: cn=admin,dc=linuxvmimagrs,dc=local
createTimestamp: 20200714192629Z
entryCSN: 20200714192629.414835Z#000000#000#000000
modifiersName: cn=admin,dc=linuxvmimagrs,dc=local
modifyTimestamp: 20200714192629Z
dn: cn=admin,dc=linuxvmimagrs,dc=local
objectClass: simpleSecurityObject
objectClass: organizationalRole
cn: admin
description: LDAP administrator

Step 2: Add base dn for Users and Groups
Create a file named basedn.ldif with below contents:

dn: ou=people,dc=linuxvmimagrs,dc=local
objectClass: organizationalUnit
ou: people

dn: ou=groups,dc=linuxvmimagrs,dc=local
objectClass: organizationalUnit
ou: groups

Now add the file by running the command:
ldapadd -x -D cn=admin,dc=linuxvmimagrs,dc=local -W -f basedn.ldif
Step 3: Add User Accounts and Groups

root@ubunu2004:~# slappasswd
New password:
Re-enter new password:
{SSHA}QCjJfk3CTNWJayd0UJrN7Hf+A/rpwquD

Create user.ldif file for adding users:

dn: uid=hanszhu,ou=people,dc=linuxvmimagrs,dc=local
objectClass: inetOrgPerson
objectClass: posixAccount
objectClass: shadowAccount
cn: hanszhu
sn: Wiz
userPassword: {SSHA}QCjJfk3CTNWJayd0UJrN7Hf+A/rpwquD
loginShell: /bin/bash
uidNumber: 2000
gidNumber: 2000
homeDirectory: /home/hanszhu

add account by running:
ldapadd -x -D cn=admin,dc=linuxvmimagrs,dc=local -W -f user.ldif
Step 4: Install LDAP Account Manager
we need PHP and Apache web server for LDAP Account Manager.
sudo apt -y install ldap-account-manager
review /etc/apache2/conf-enabled/ldap-account-manager.conf
sudo systemctl restart apache2
Step 5: Configure LDAP Account Manager
open http://192.168.0.43/lam
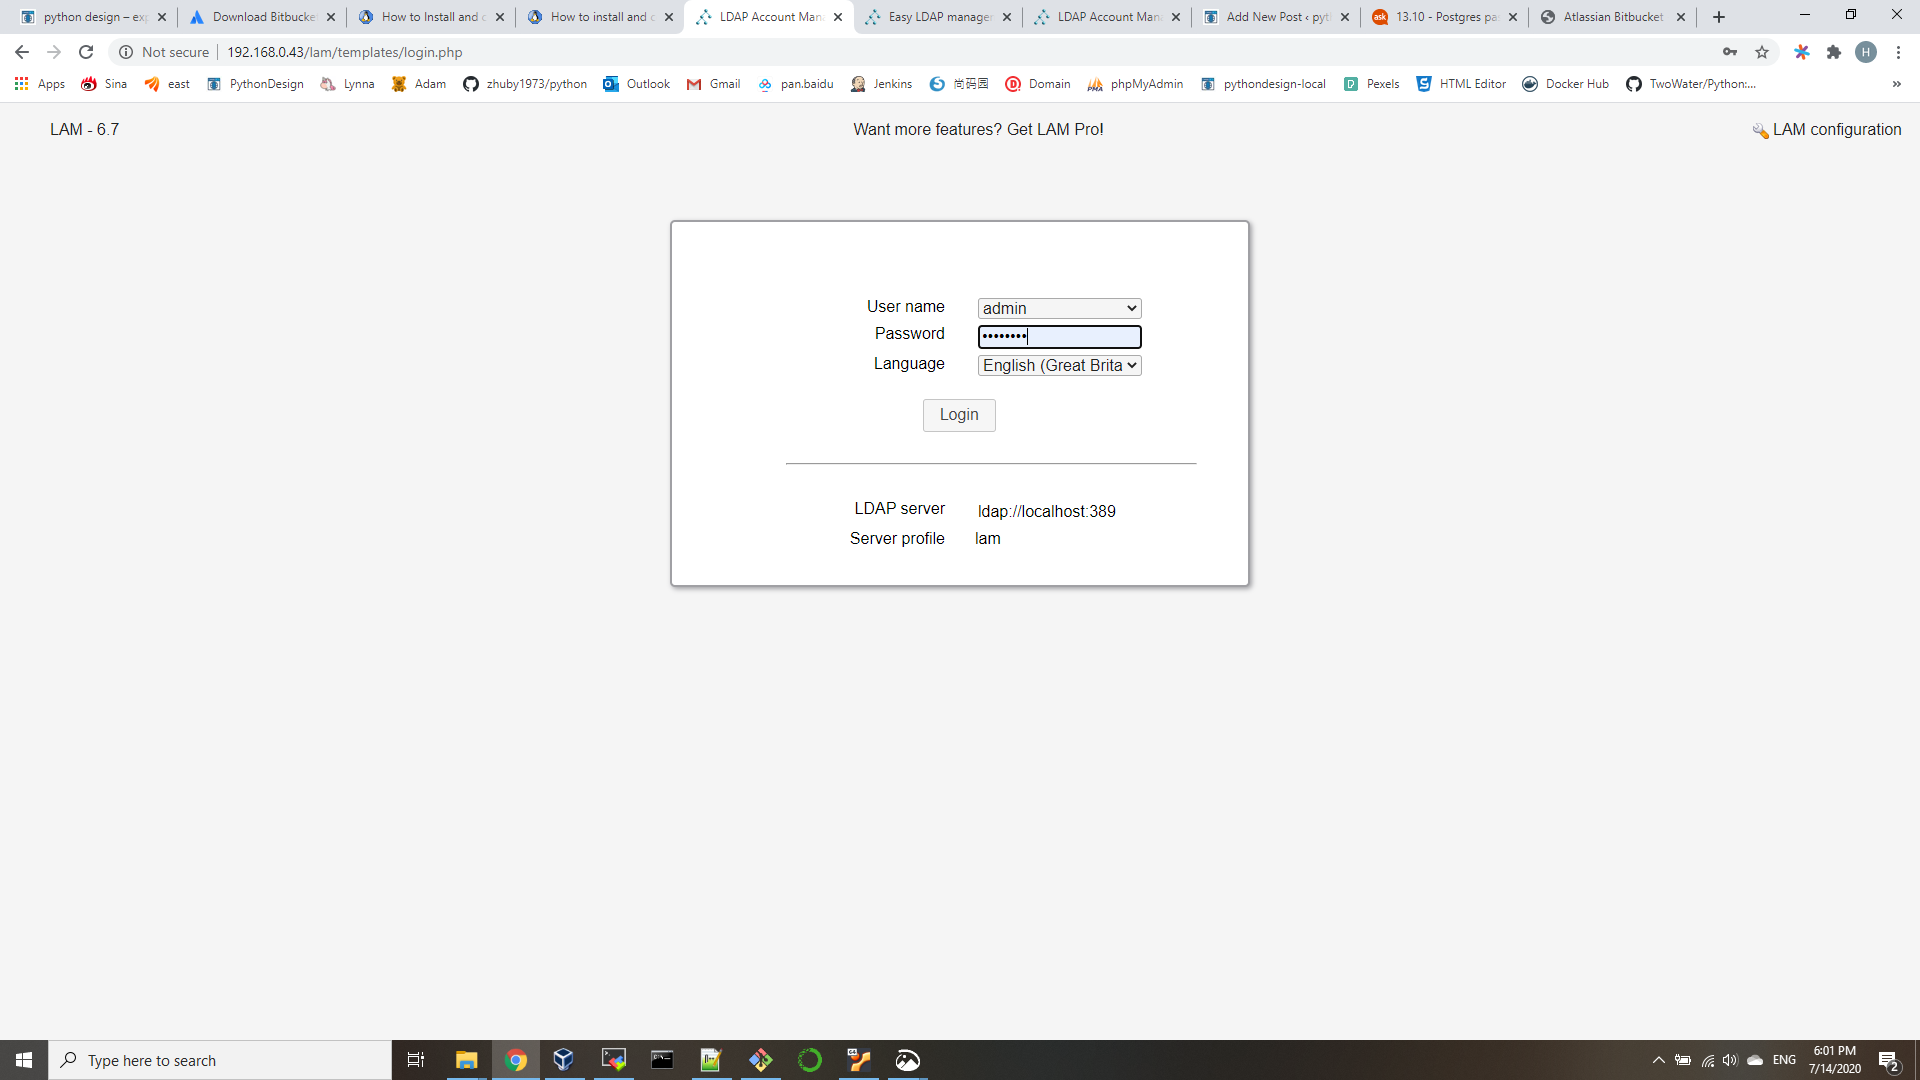
We need to set our LDAP server profile by clicking on[LAM configuration] at the upper right corner. default password is lam.

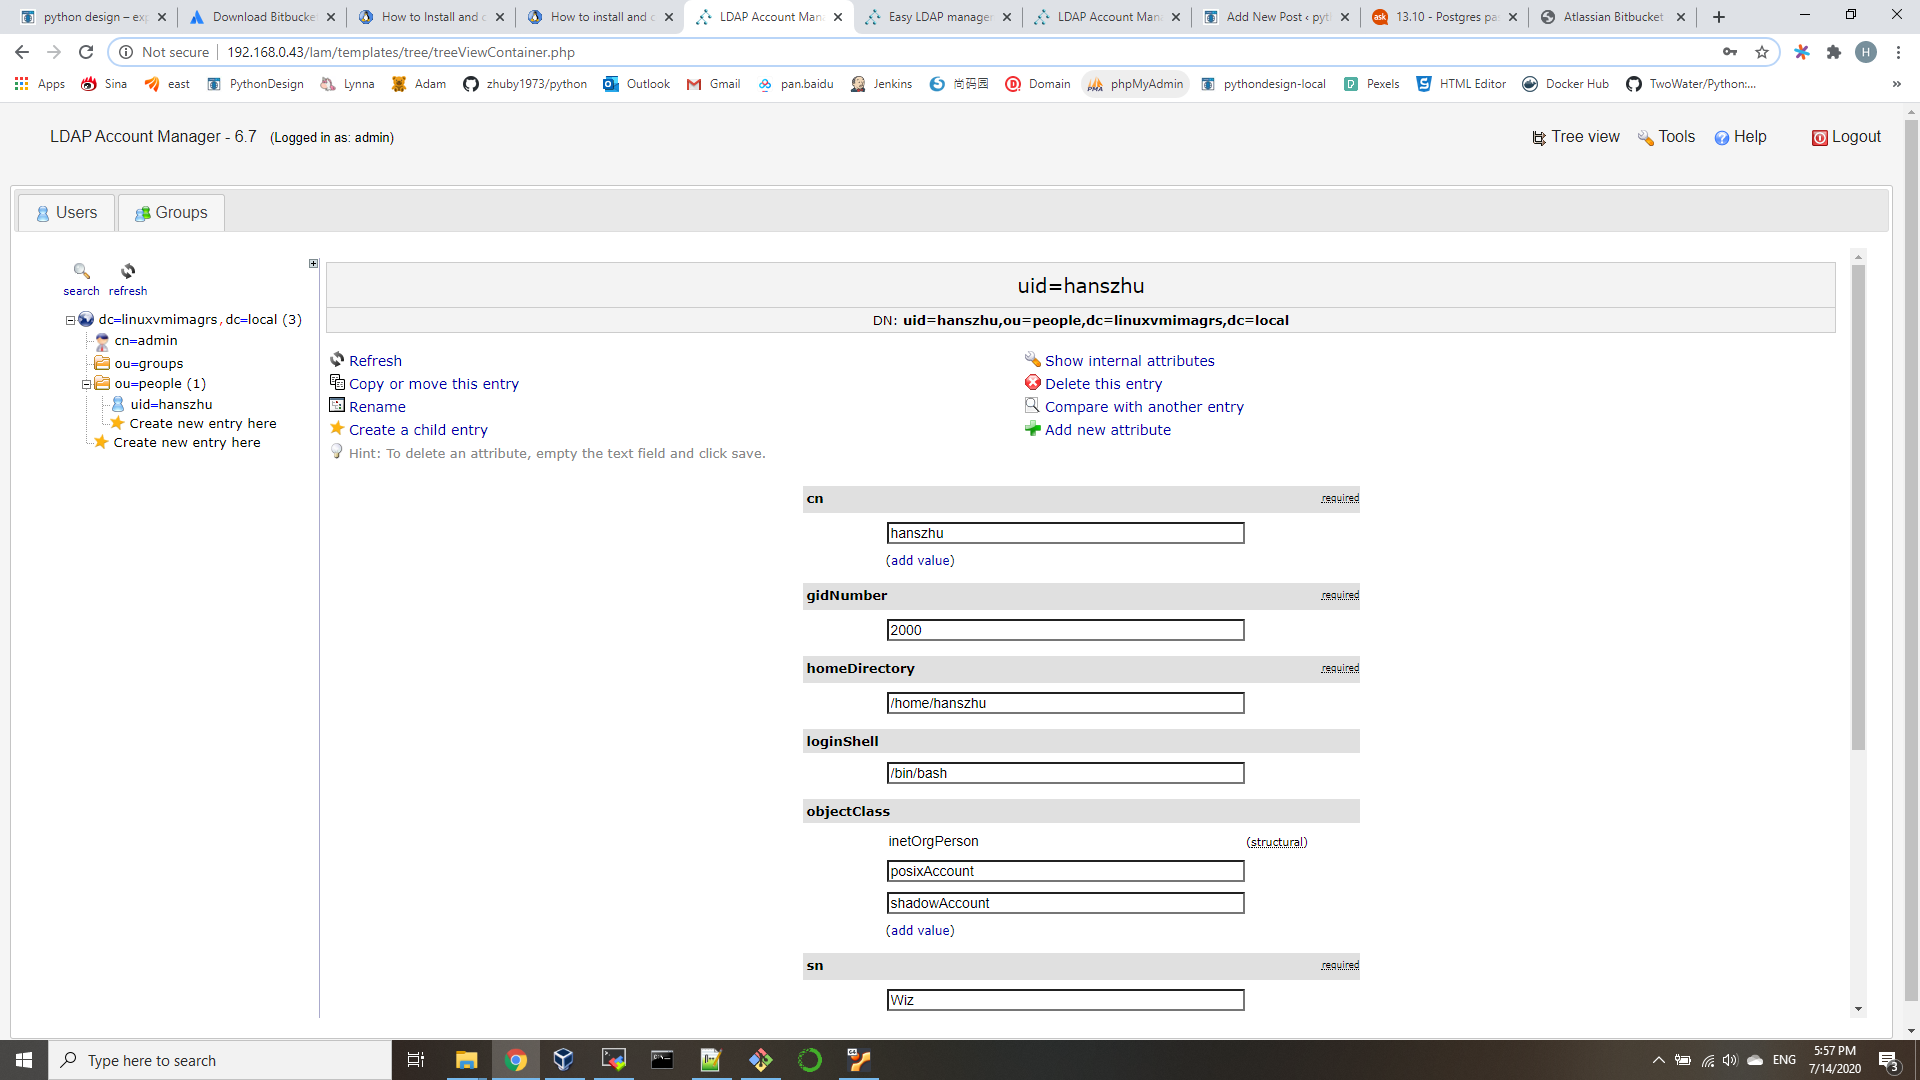
then you can save and logon lam with your LDAP admin ID:

Bitbucket 7.4.0 – Installation on Ubuntu 20.04

  1. java 11 installation
    sudo apt-get install openjdk-11-jre
  2. download Bitbucket 7.4.0 tar.gz file and install
    download atlassian-bitbucket-7.4.0.tar.gz from https://www.atlassian.com/software/bitbucket/download
    tar -zxvf atlassian-bitbucket-7.4.0.tar.gz -C /opt
    ln -s /opt/atlassian-bitbucket-7.4.0 /opt/bitbucket
    mkdir /opt/bitbucket-home
    export JAVA_HOME=/usr/lib/jvm/java-11-openjdk-amd64
    (or edit /opt/bitbucket/bin/set-jre-home.sh)
    export BITBUCKET_HOME=/opt/bitbucket-home
    (or edit /opt/bitbucket/bin/set-bitbucket-home.sh )
  3. start Bitbucket
    root@ubunu2004:/opt/bitbucket/bin# ./start-bitbucket.sh –no-search
    Starting Atlassian Bitbucket as the current user
    Sarting Bitbucket webapp at http://localhost:7990
    The Bitbucket webapp has been started.
    root@ubunu2004:/opt/bitbucket/bin# netstat -an|grep 7990
    tcp6 0 0 :::7990 :::* LISTEN
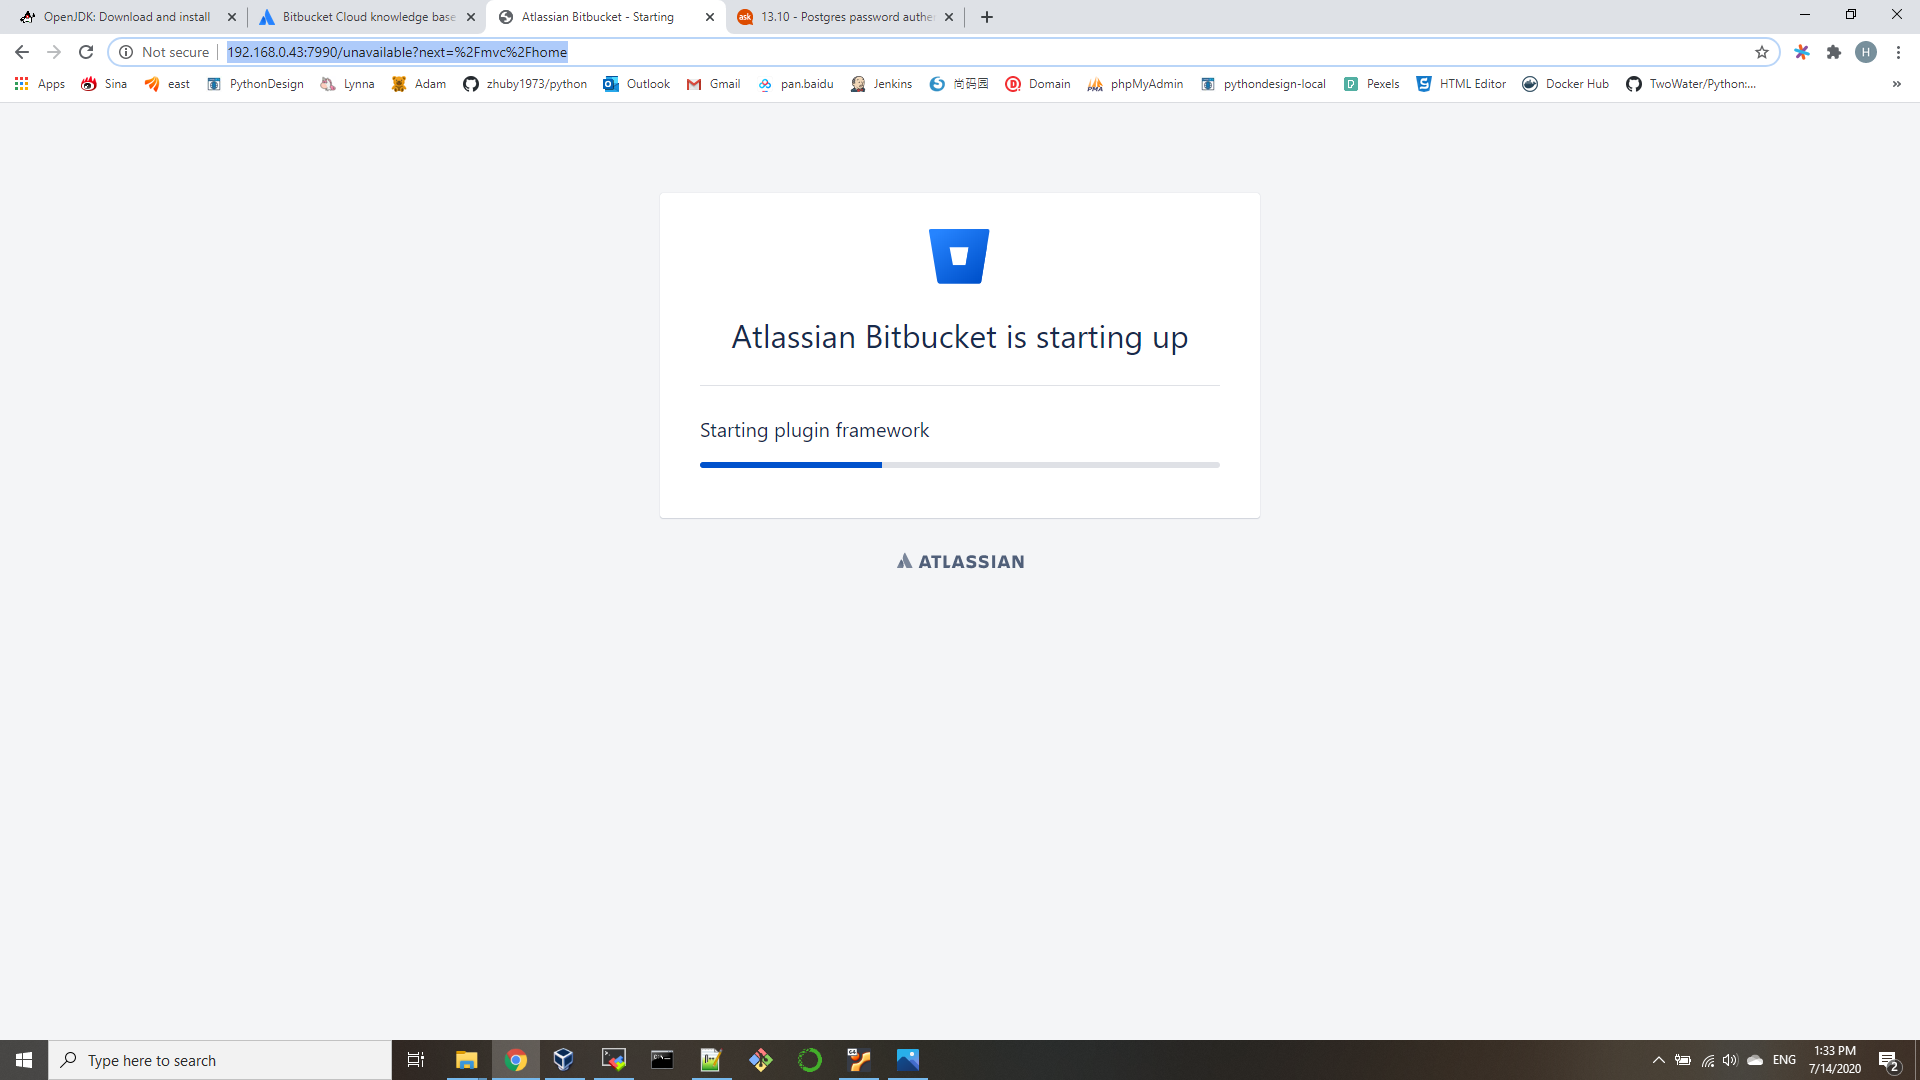
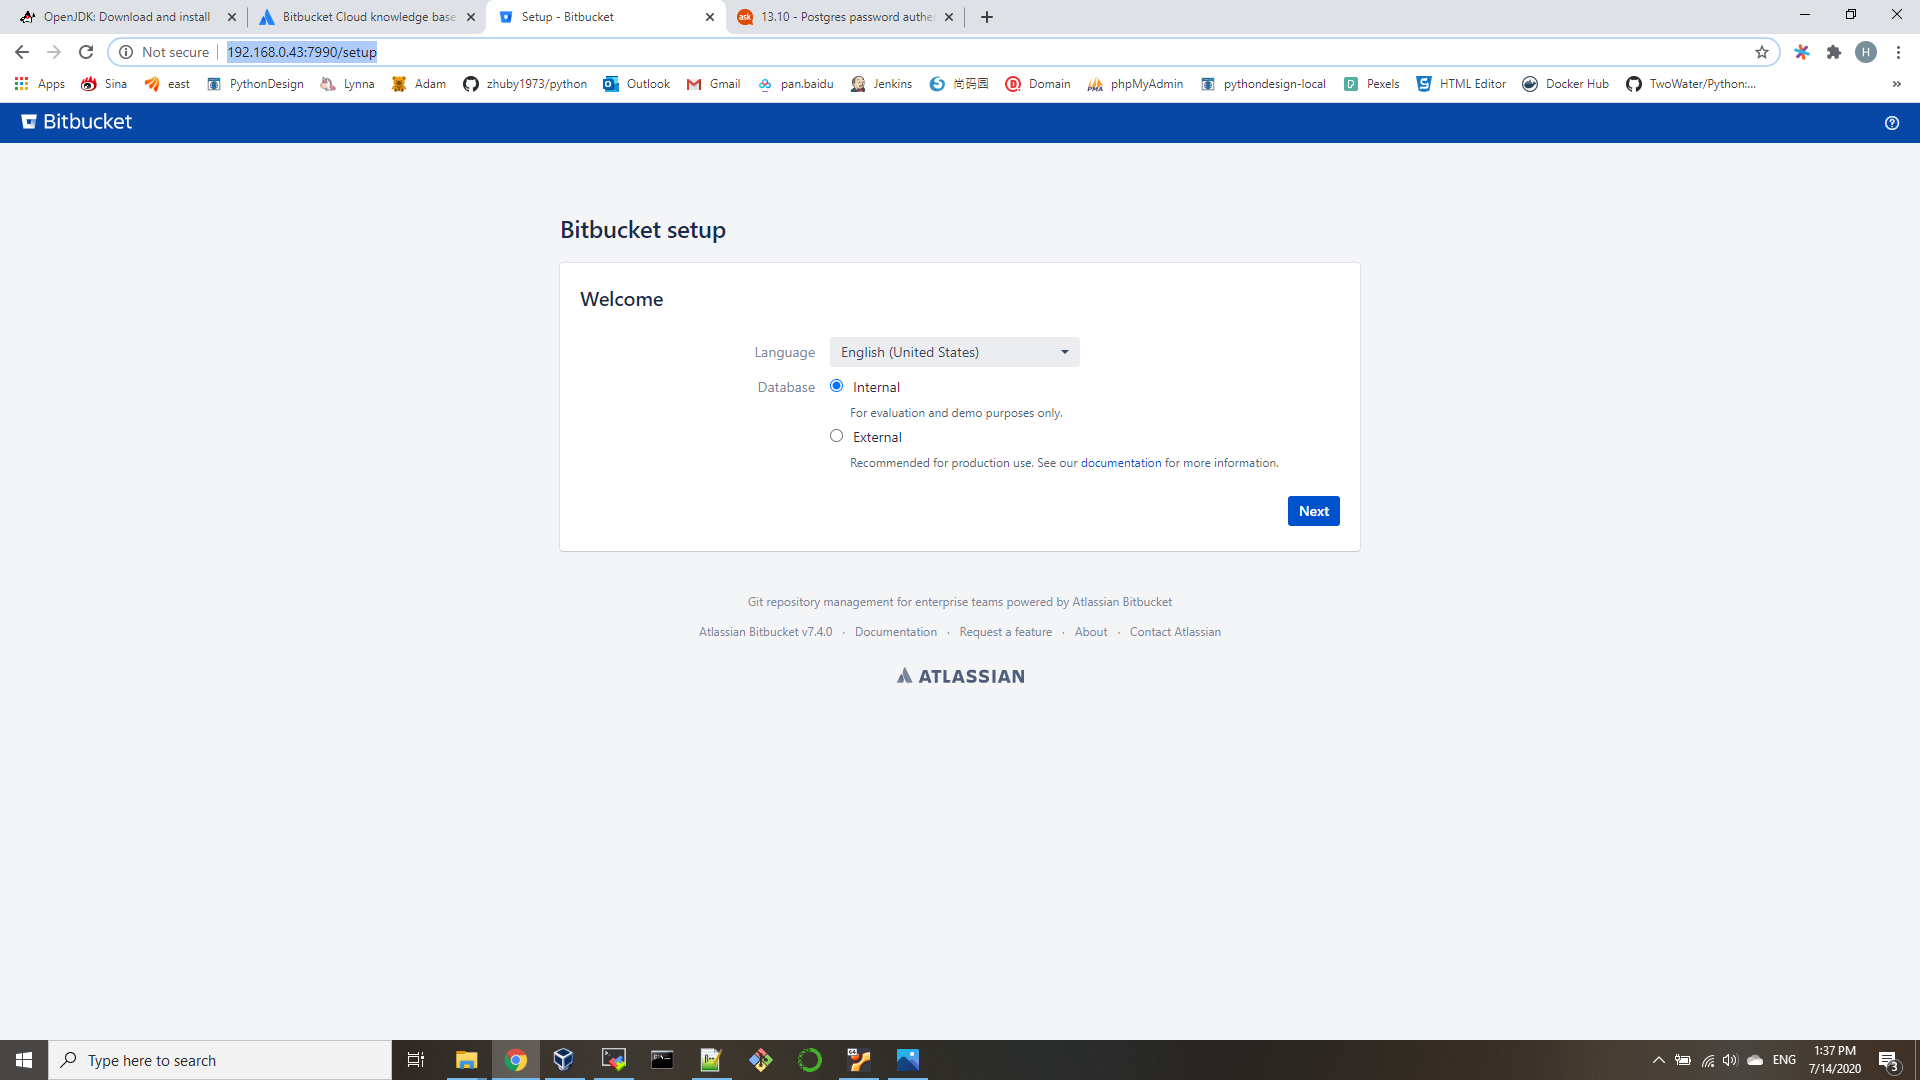
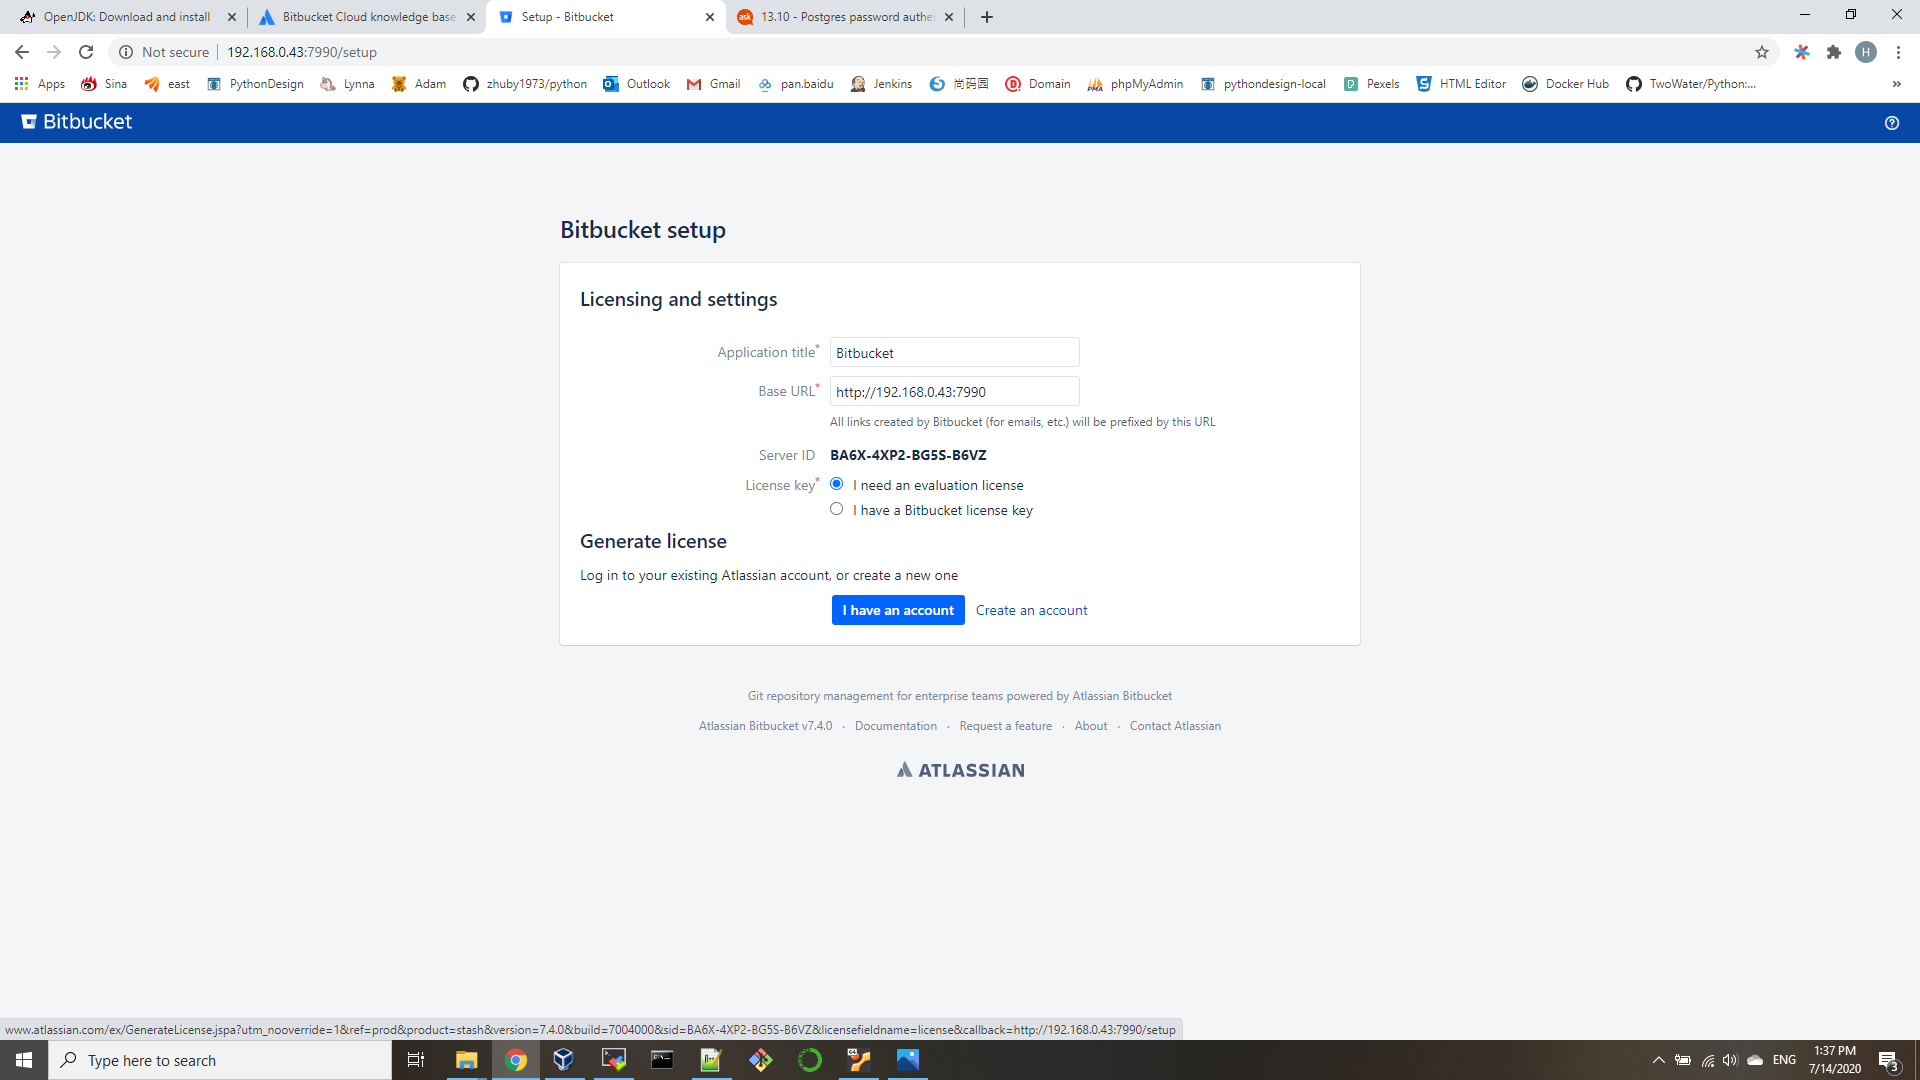
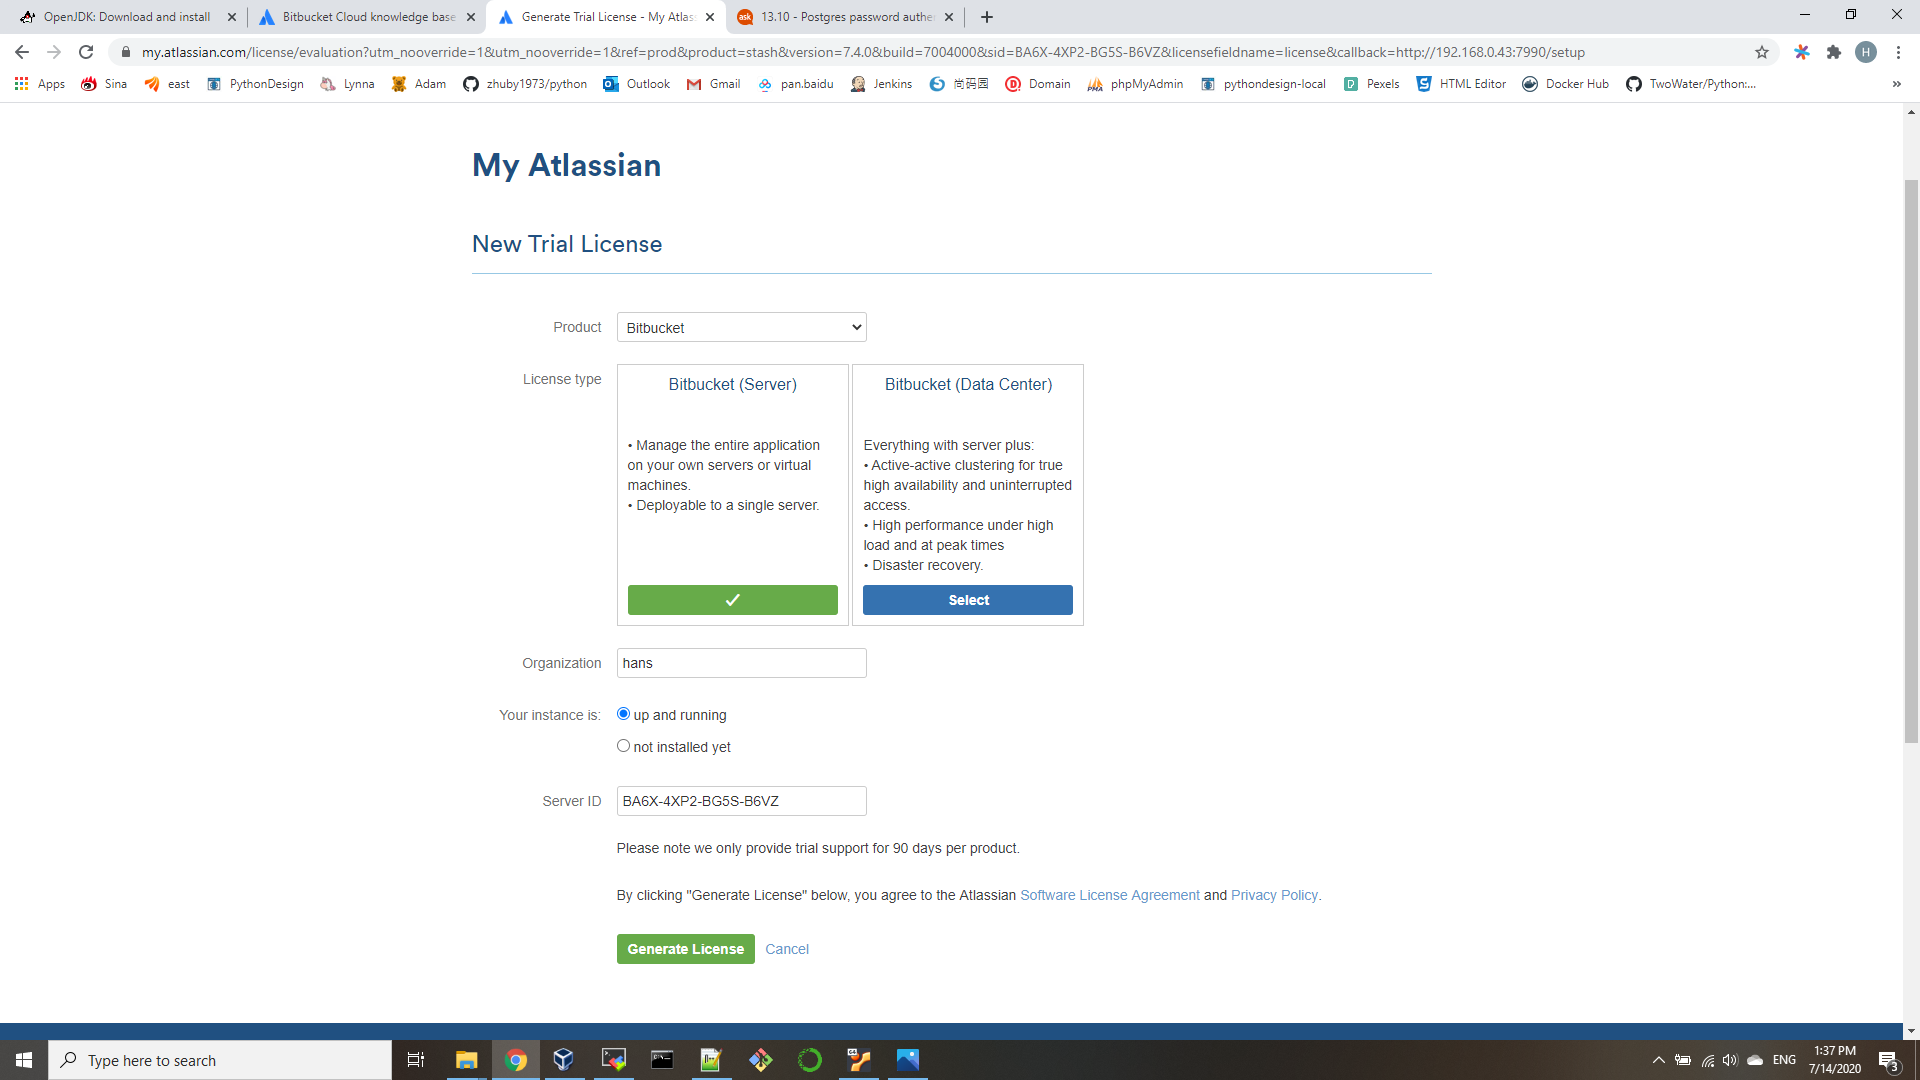
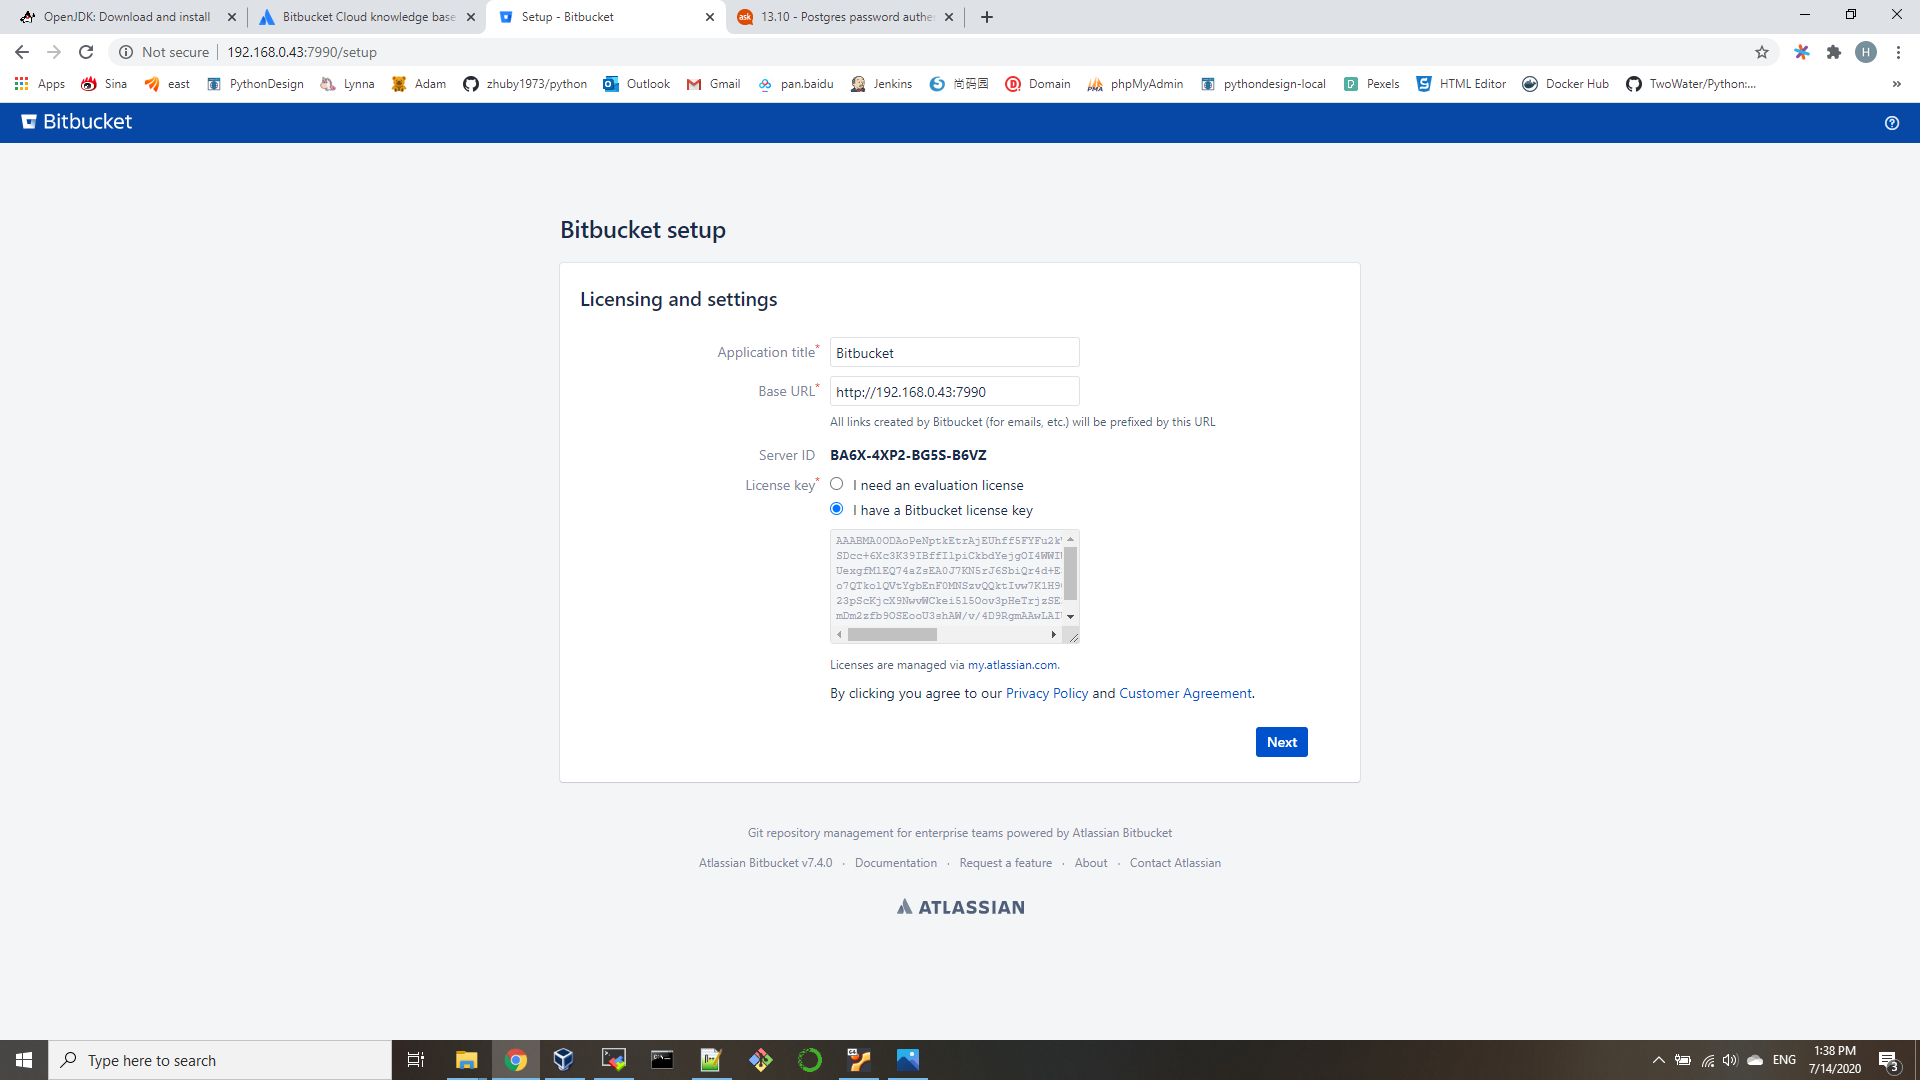
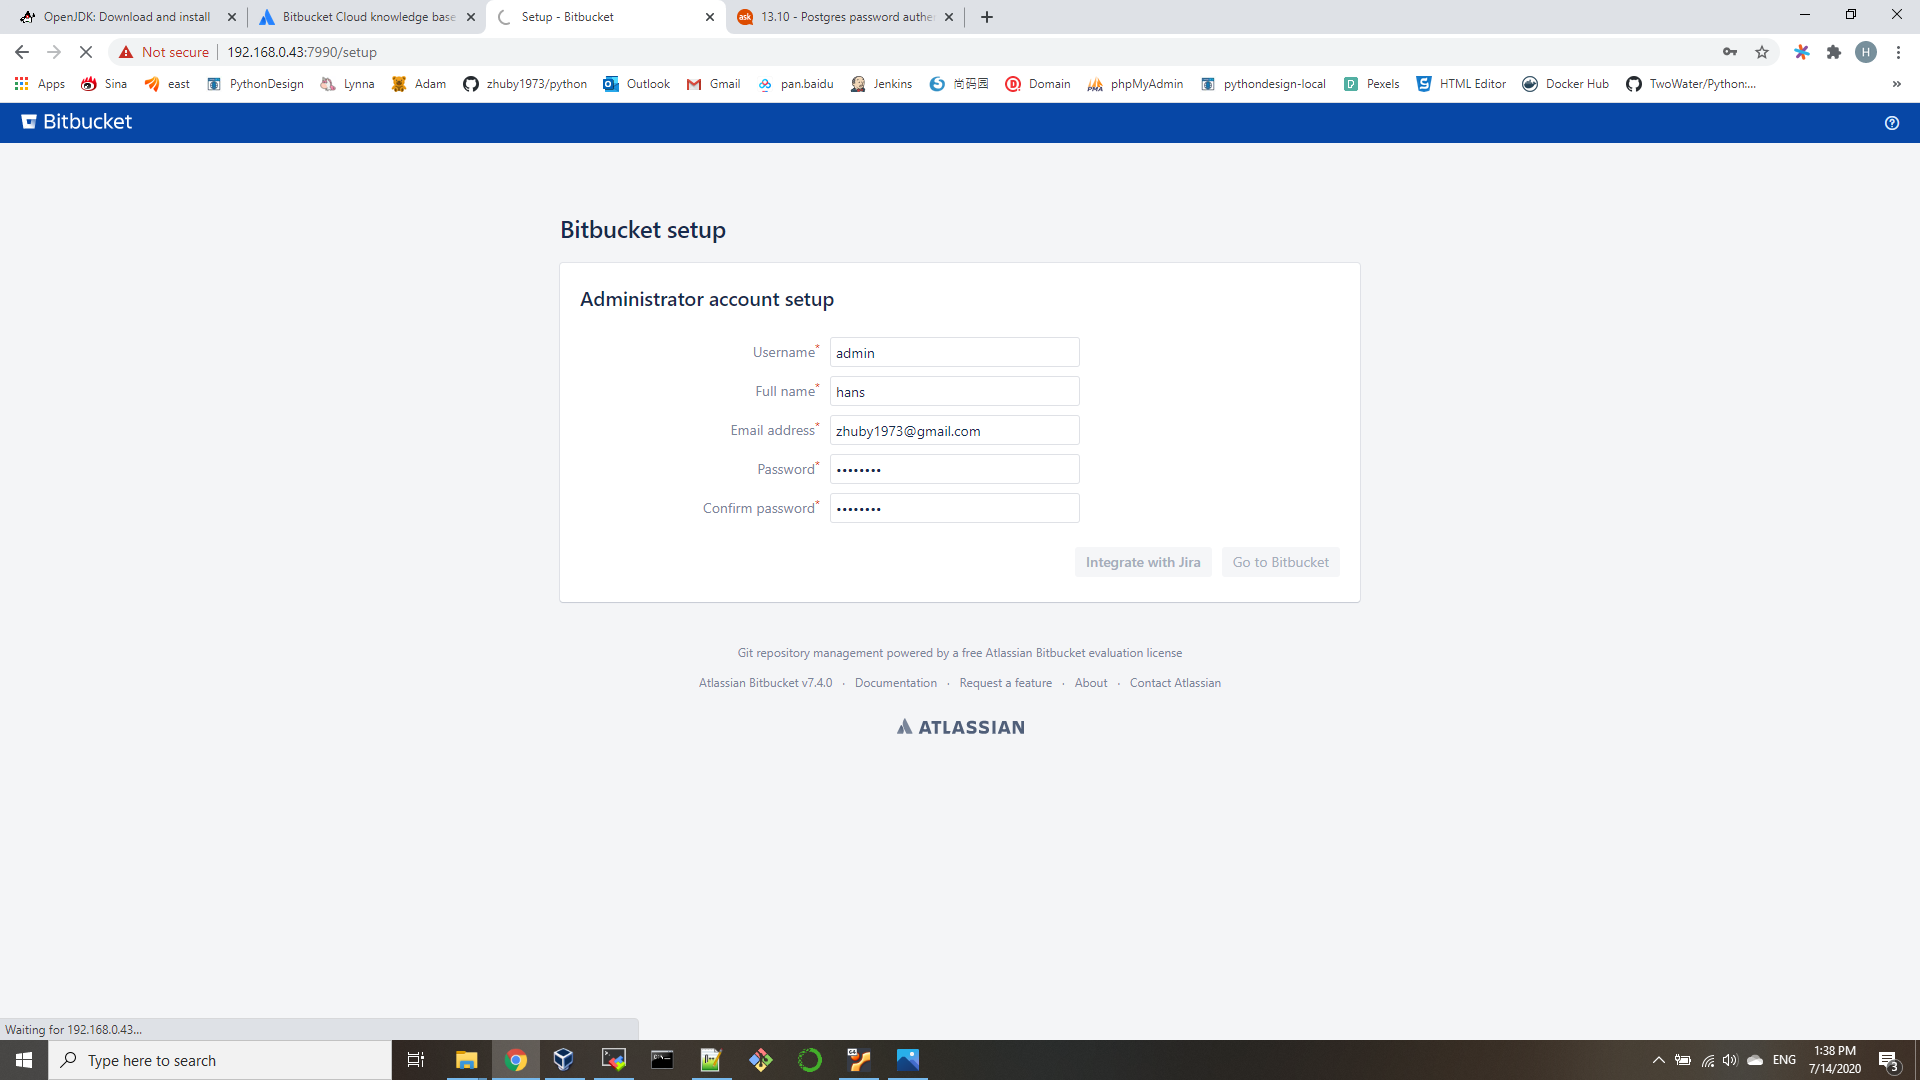
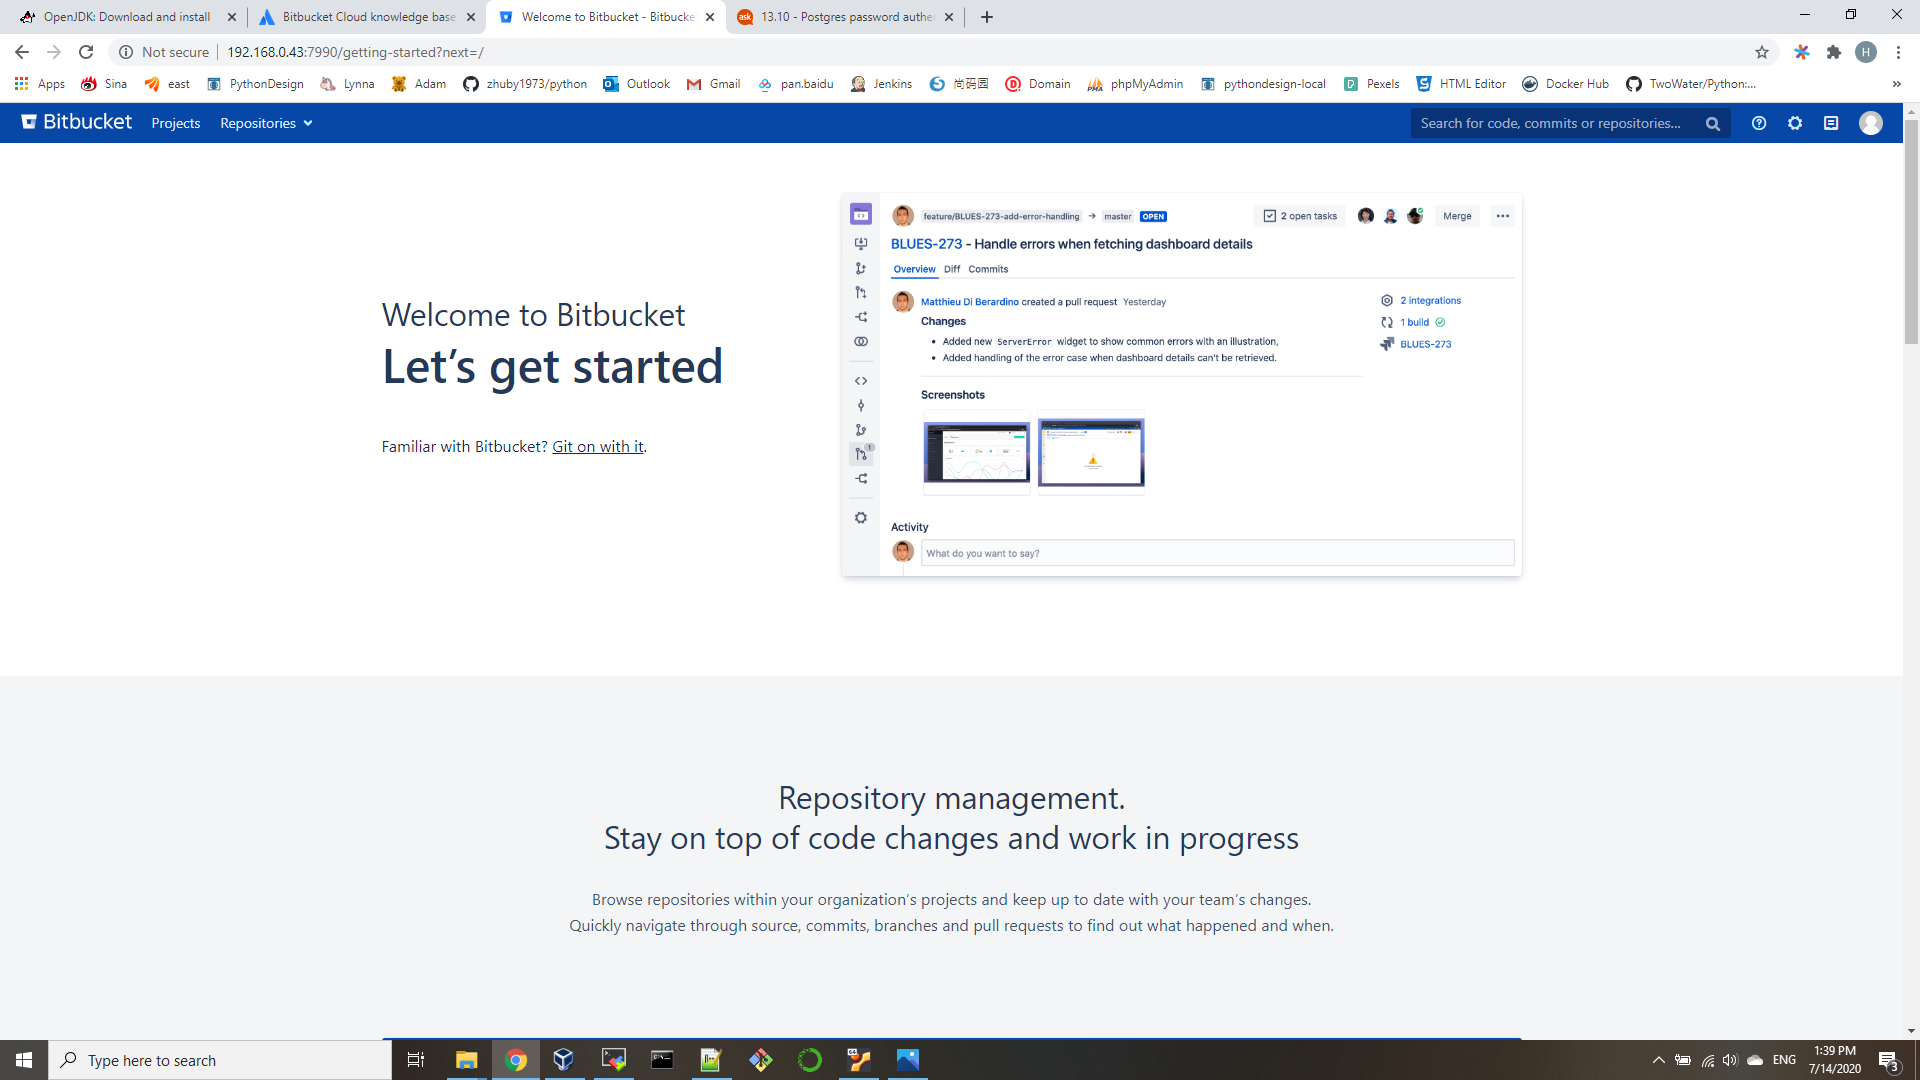
    now you can open http://192.168.0.43:7990/ continue setup:


    then we can create project ITS and repository python:
    test it with git clone command:
    $ git clone http://192.168.0.43:7990/scm/its/python.git

We can integrate with LDAP and Web server later.
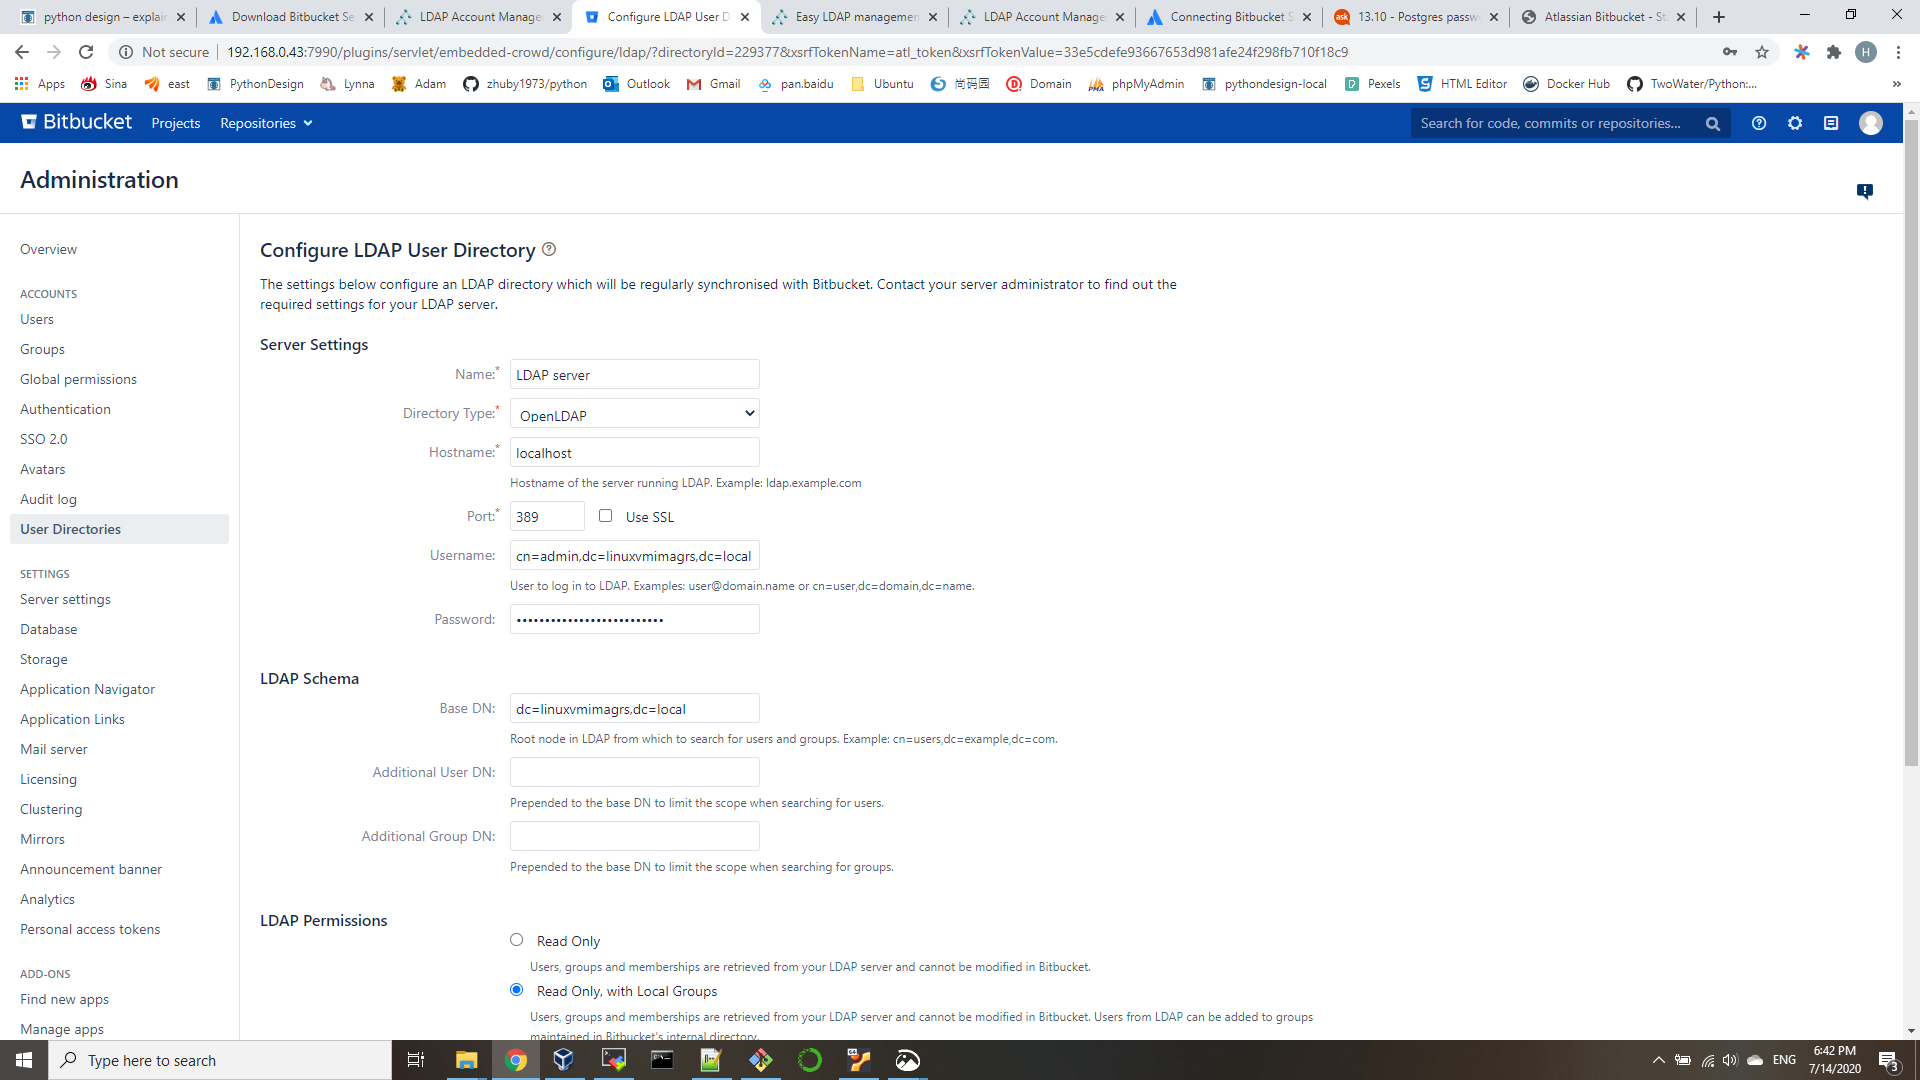
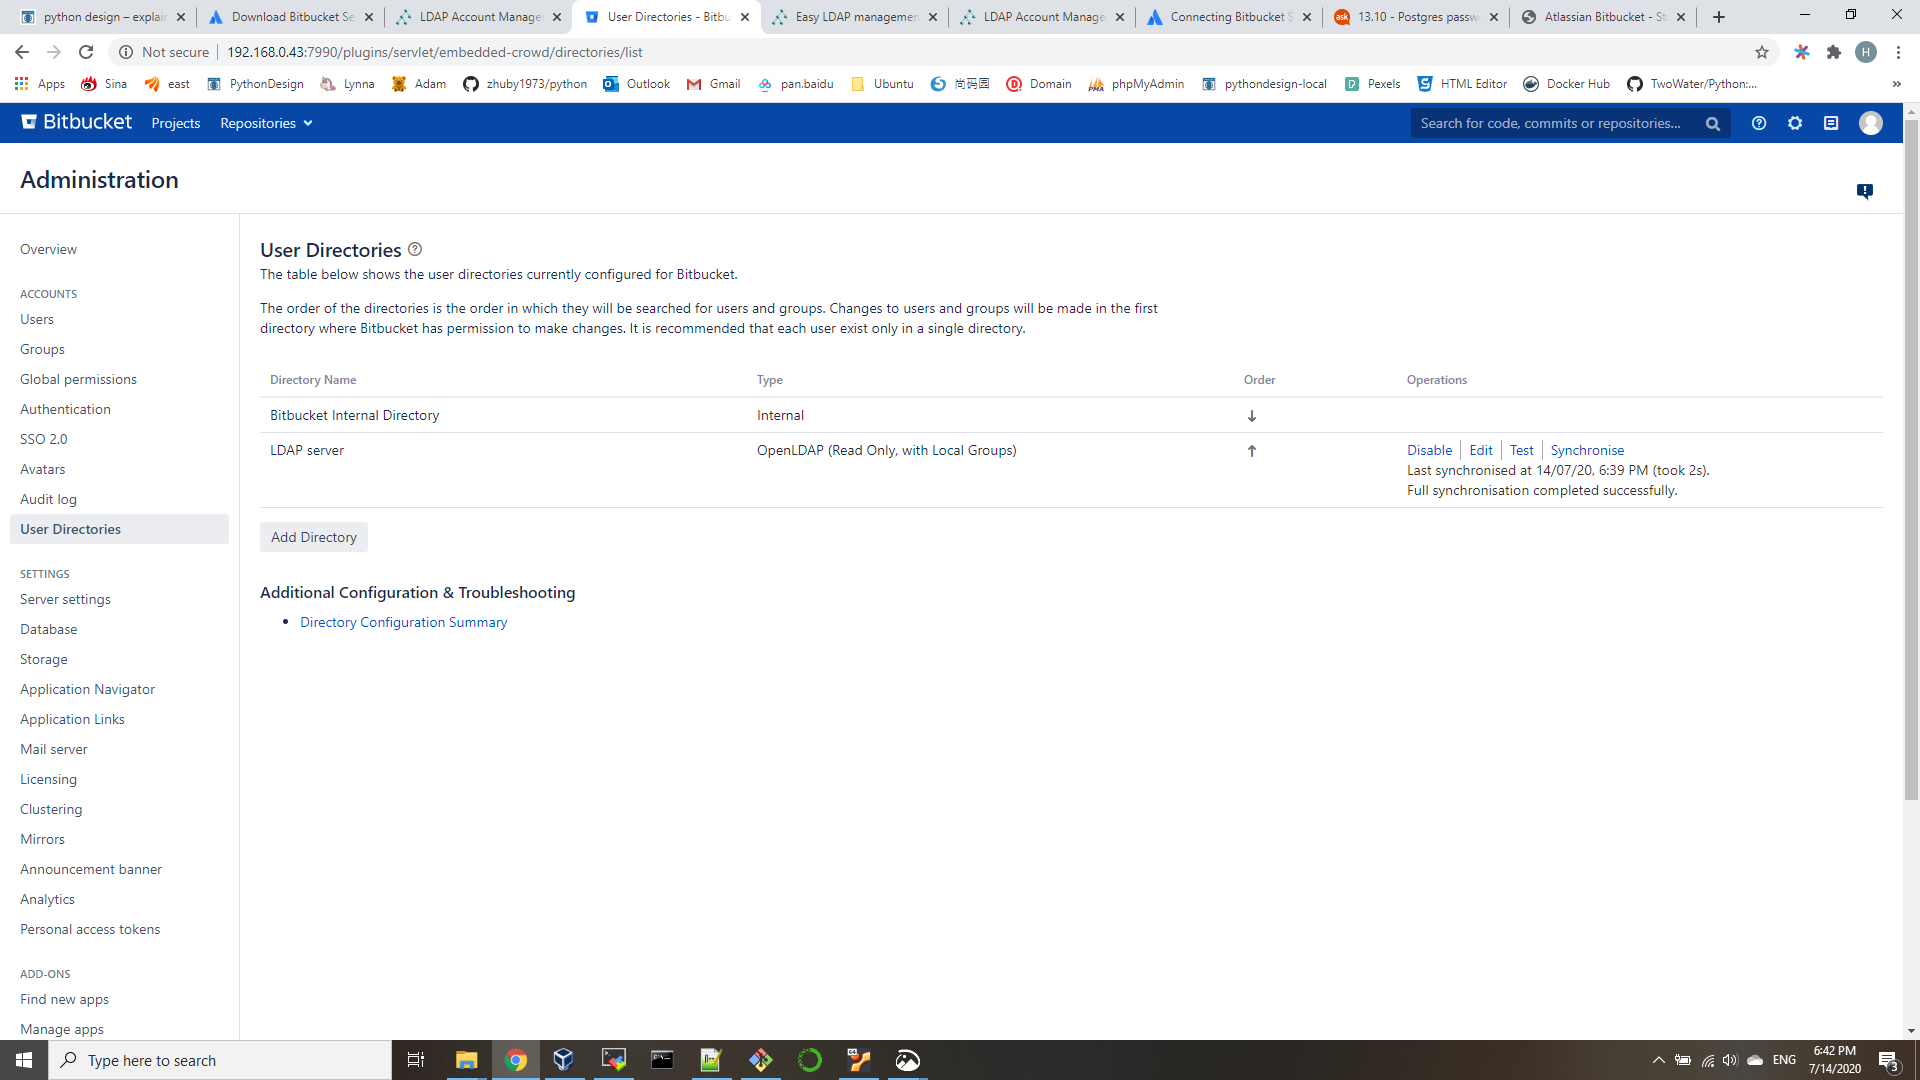
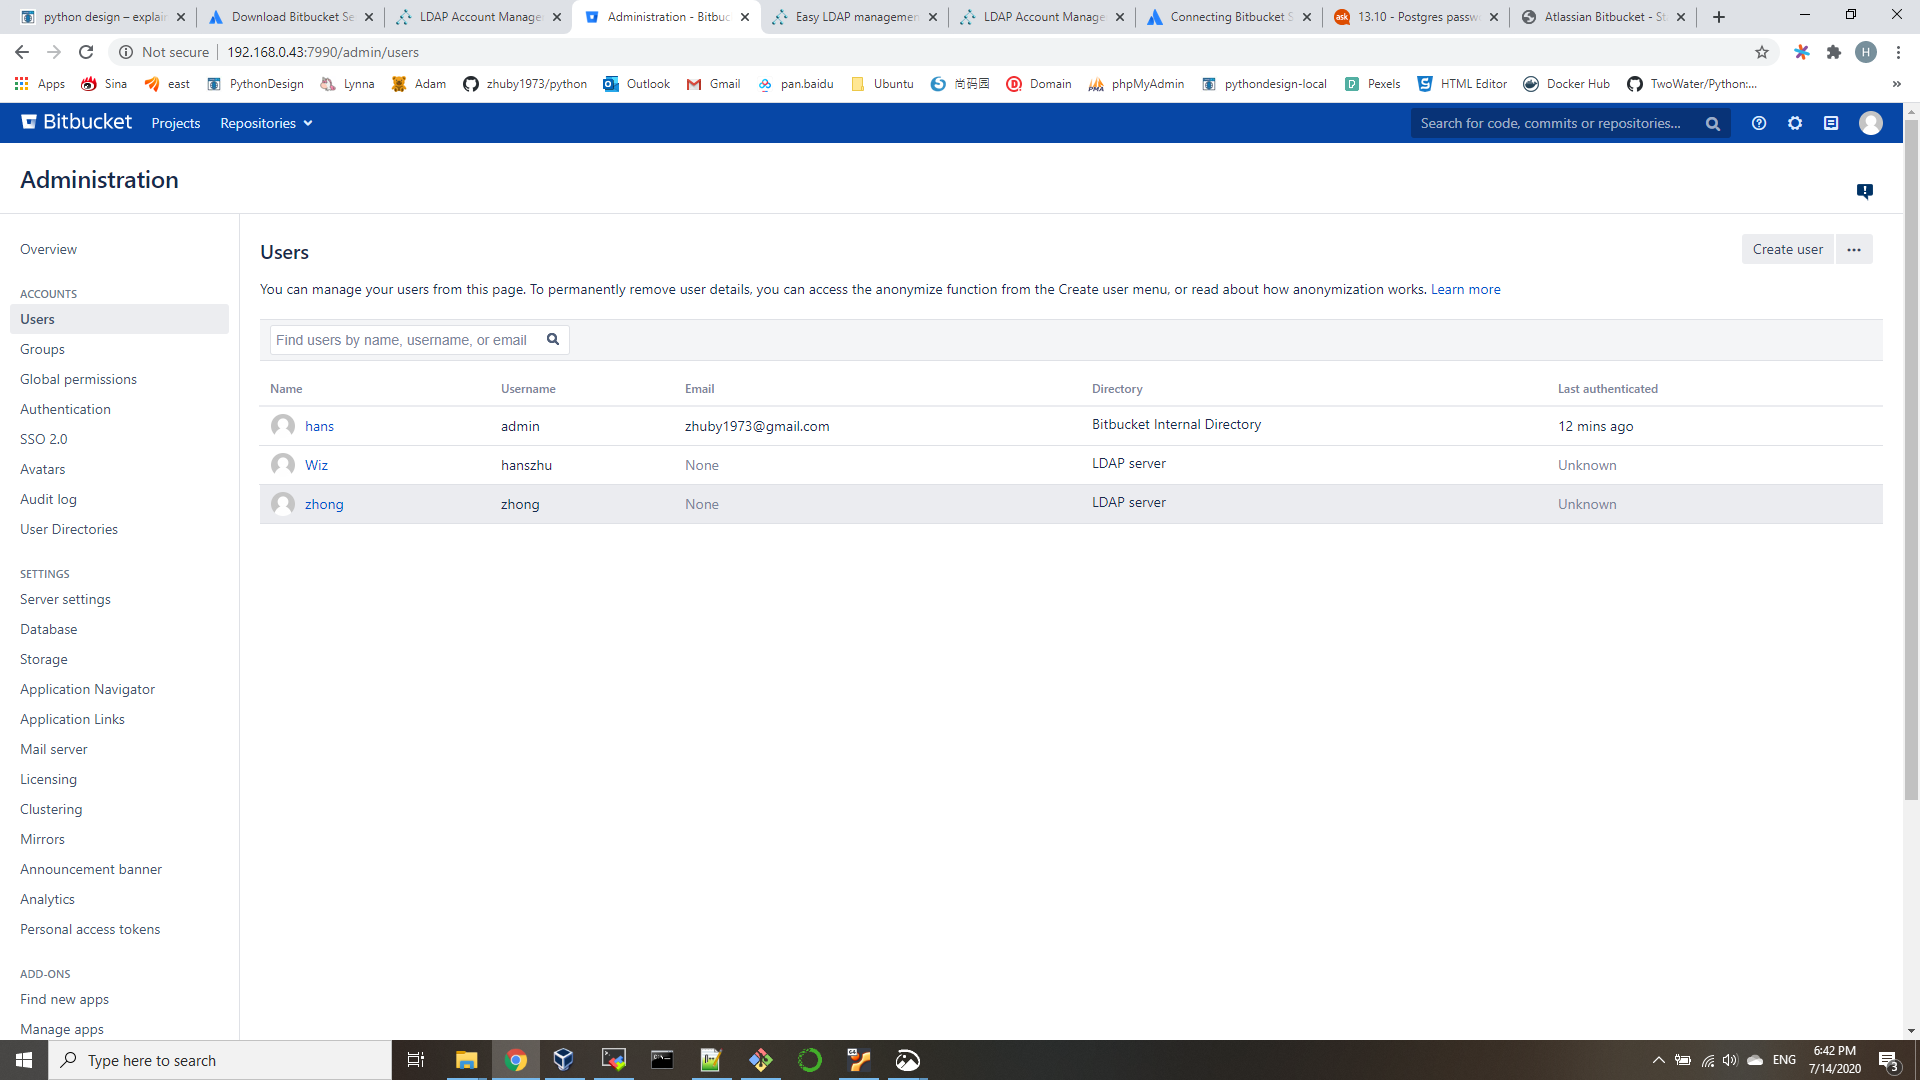
Connect Bitbucket Server to a user directory:
https://confluence.atlassian.com/bitbucketserver/external-user-directories-776640394.html
Proxy and secure Bitbucket Server:
https://confluence.atlassian.com/bitbucketserver/bitbucket-server-home-directory-776640890.html

Jira – Installation on Ubuntu 20.04

  1. Java Installation
    find java home directory:
    update-alternatives –config java
    export JAVA_HOME=/usr/lib/jvm/java-11-openjdk-amd64
  2. Postgresql Installation on Ubuntu
    http://pythondesign.ca/2020/07/14/install-postgresql-on-ubuntu-20-04/
  3. Downlaod and install JIRA 8.5
    wget https://product-downloads.atlassian.com/software/jira/downloads/atlassian-jira-core-8.5.0.tar.gz
    tar -zxvf atlassian-jira-core-8.5.0.tar.gz -C /opt
    ln -s /opt/atlassian-jira-core-8.5.0-standalone /opt/jira
    mkdir /opt/jira-home
    chmod 700 /opt/jira -R
    chmod 700 /opt/jira-home -R
    export JIRA_HOME=/opt/jira-home
  4. Start the Jira server and setup
    /opt/jira/bin/start-jira.sh
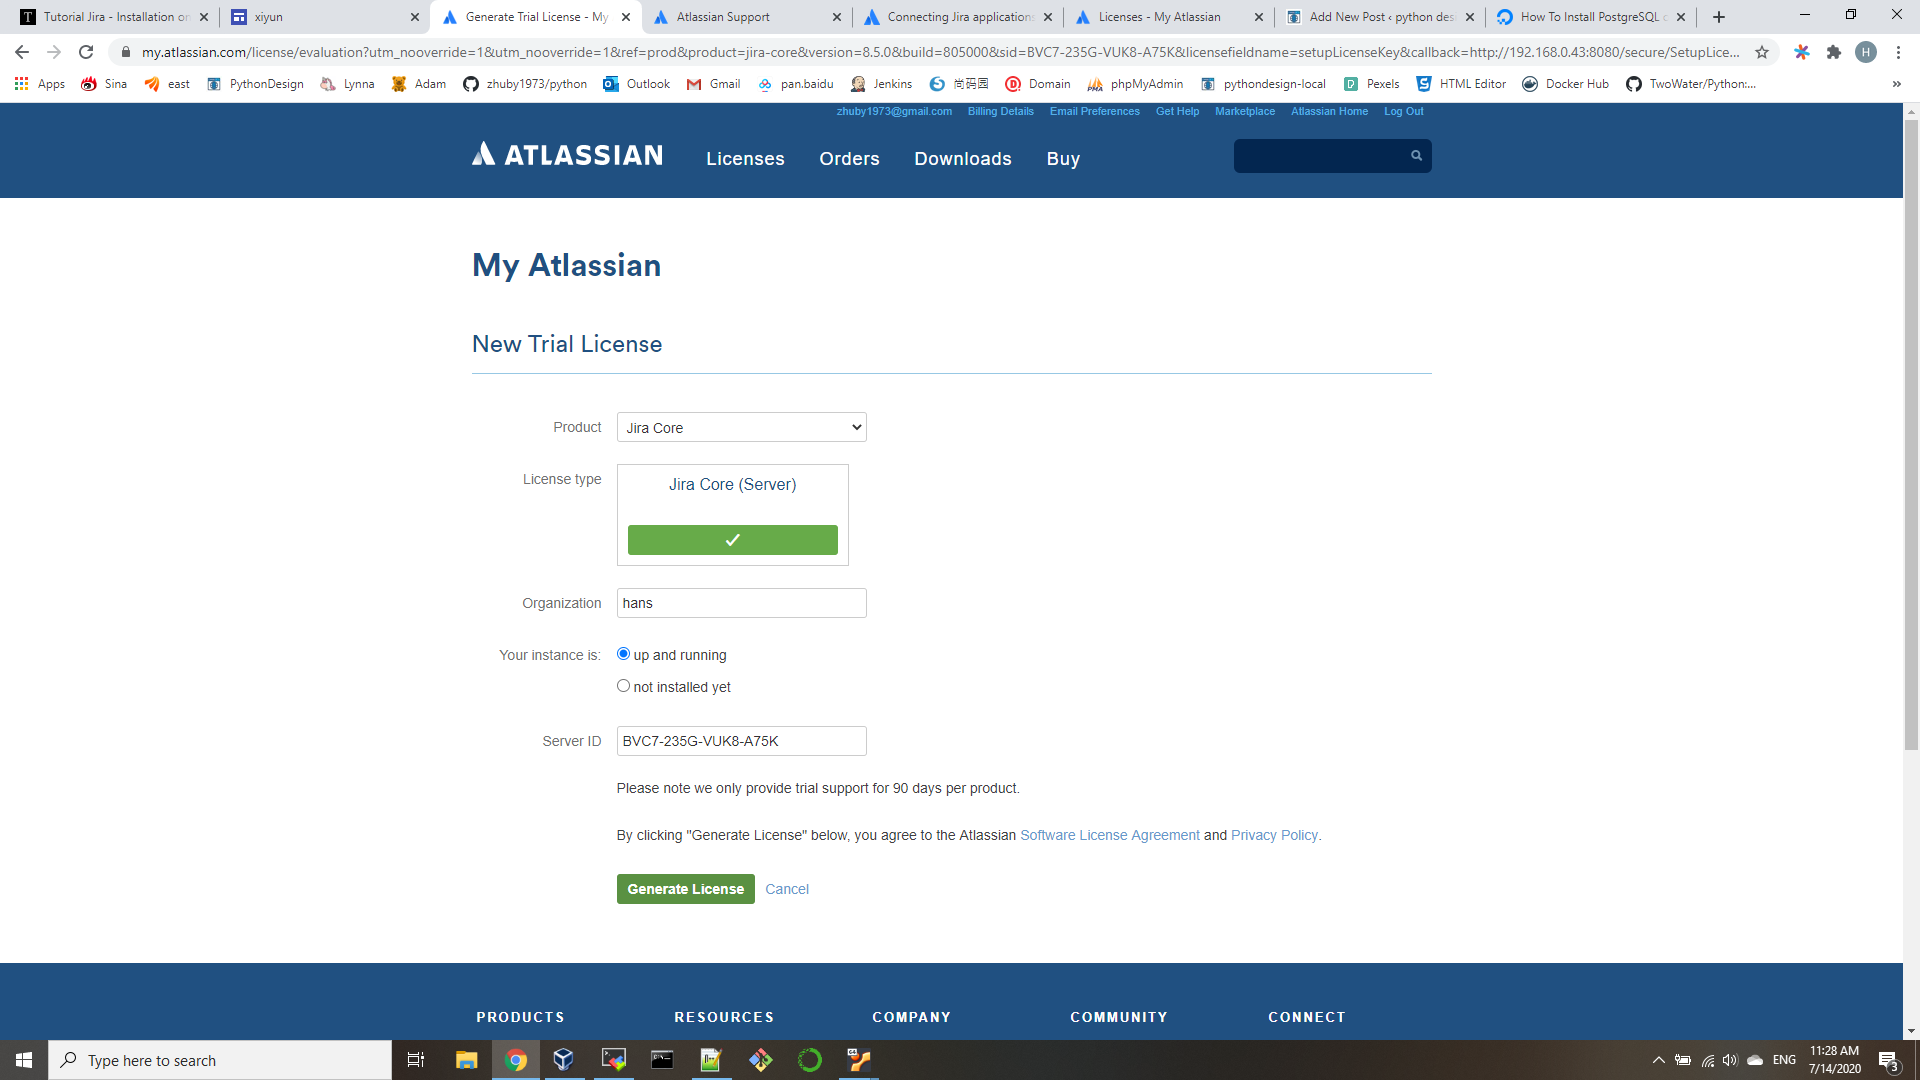
    open http://192.168.0.43:8080 to start JIRA setup
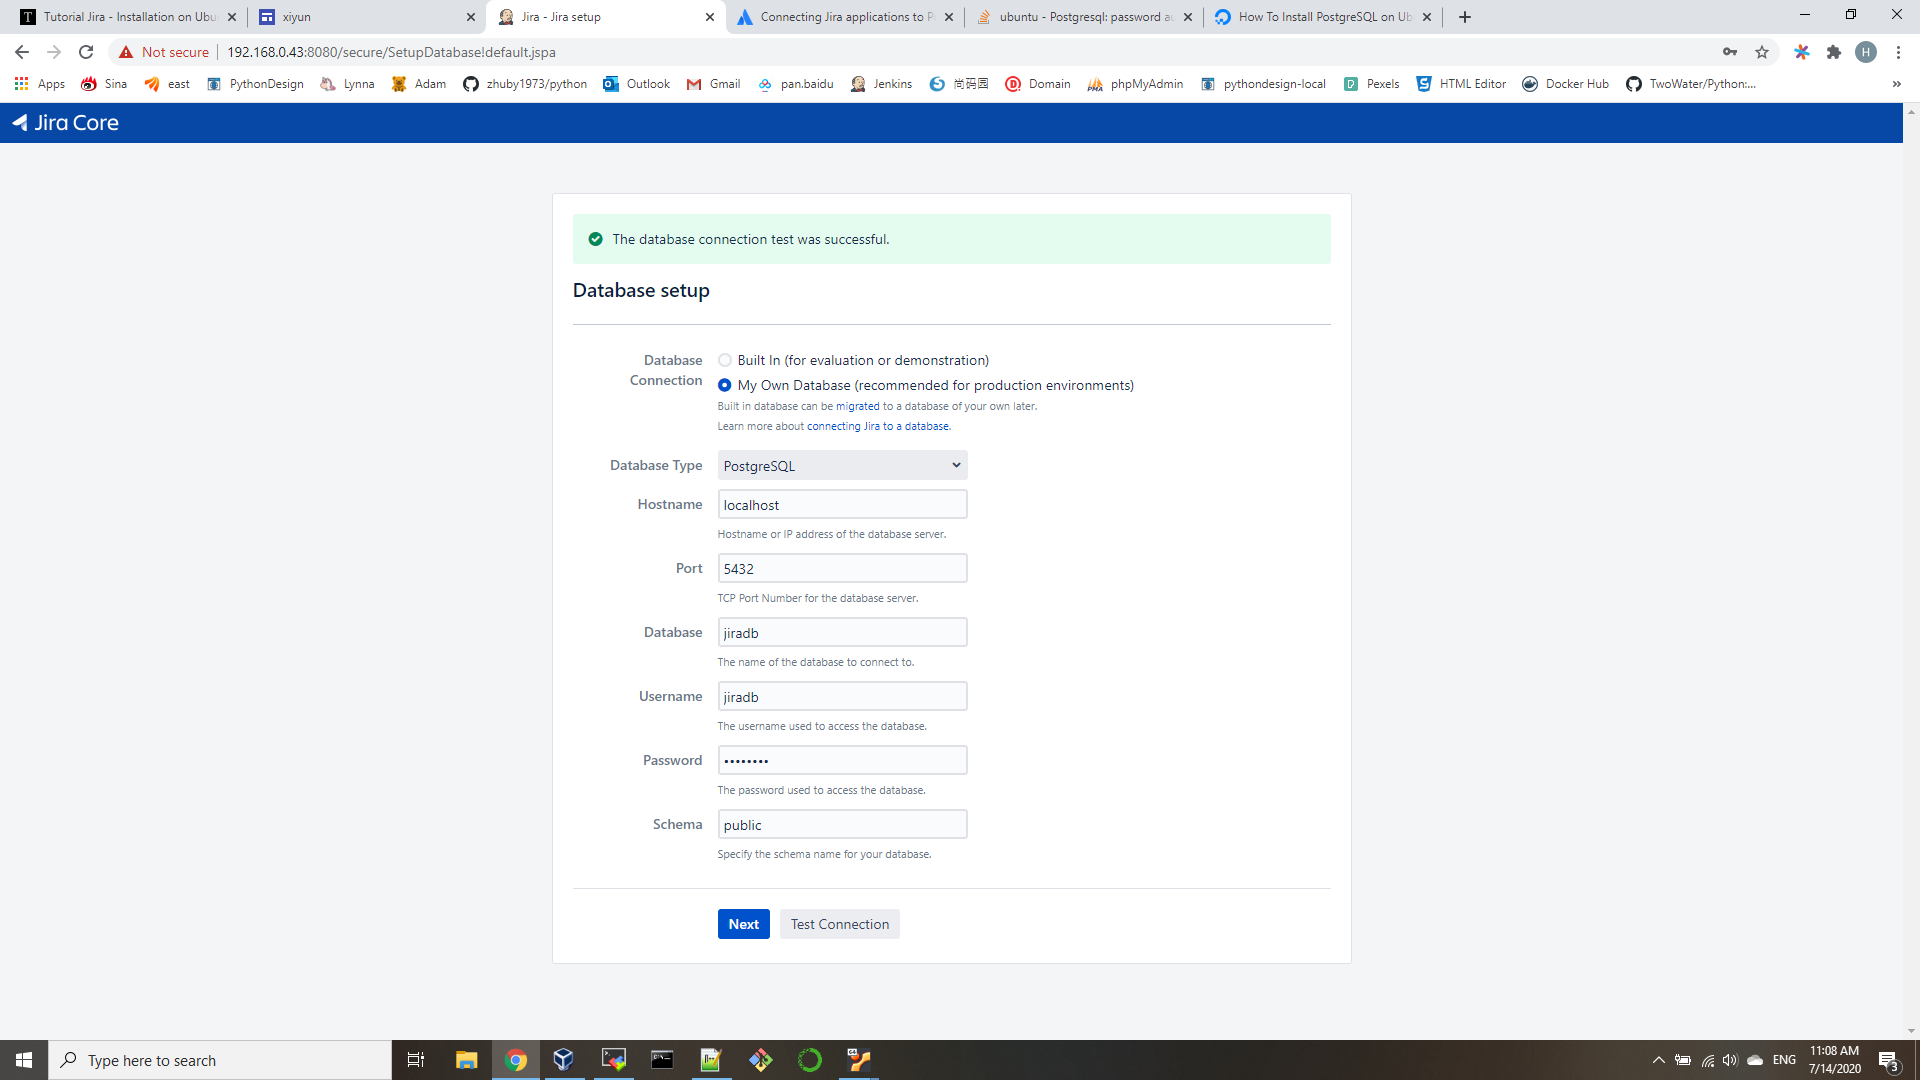
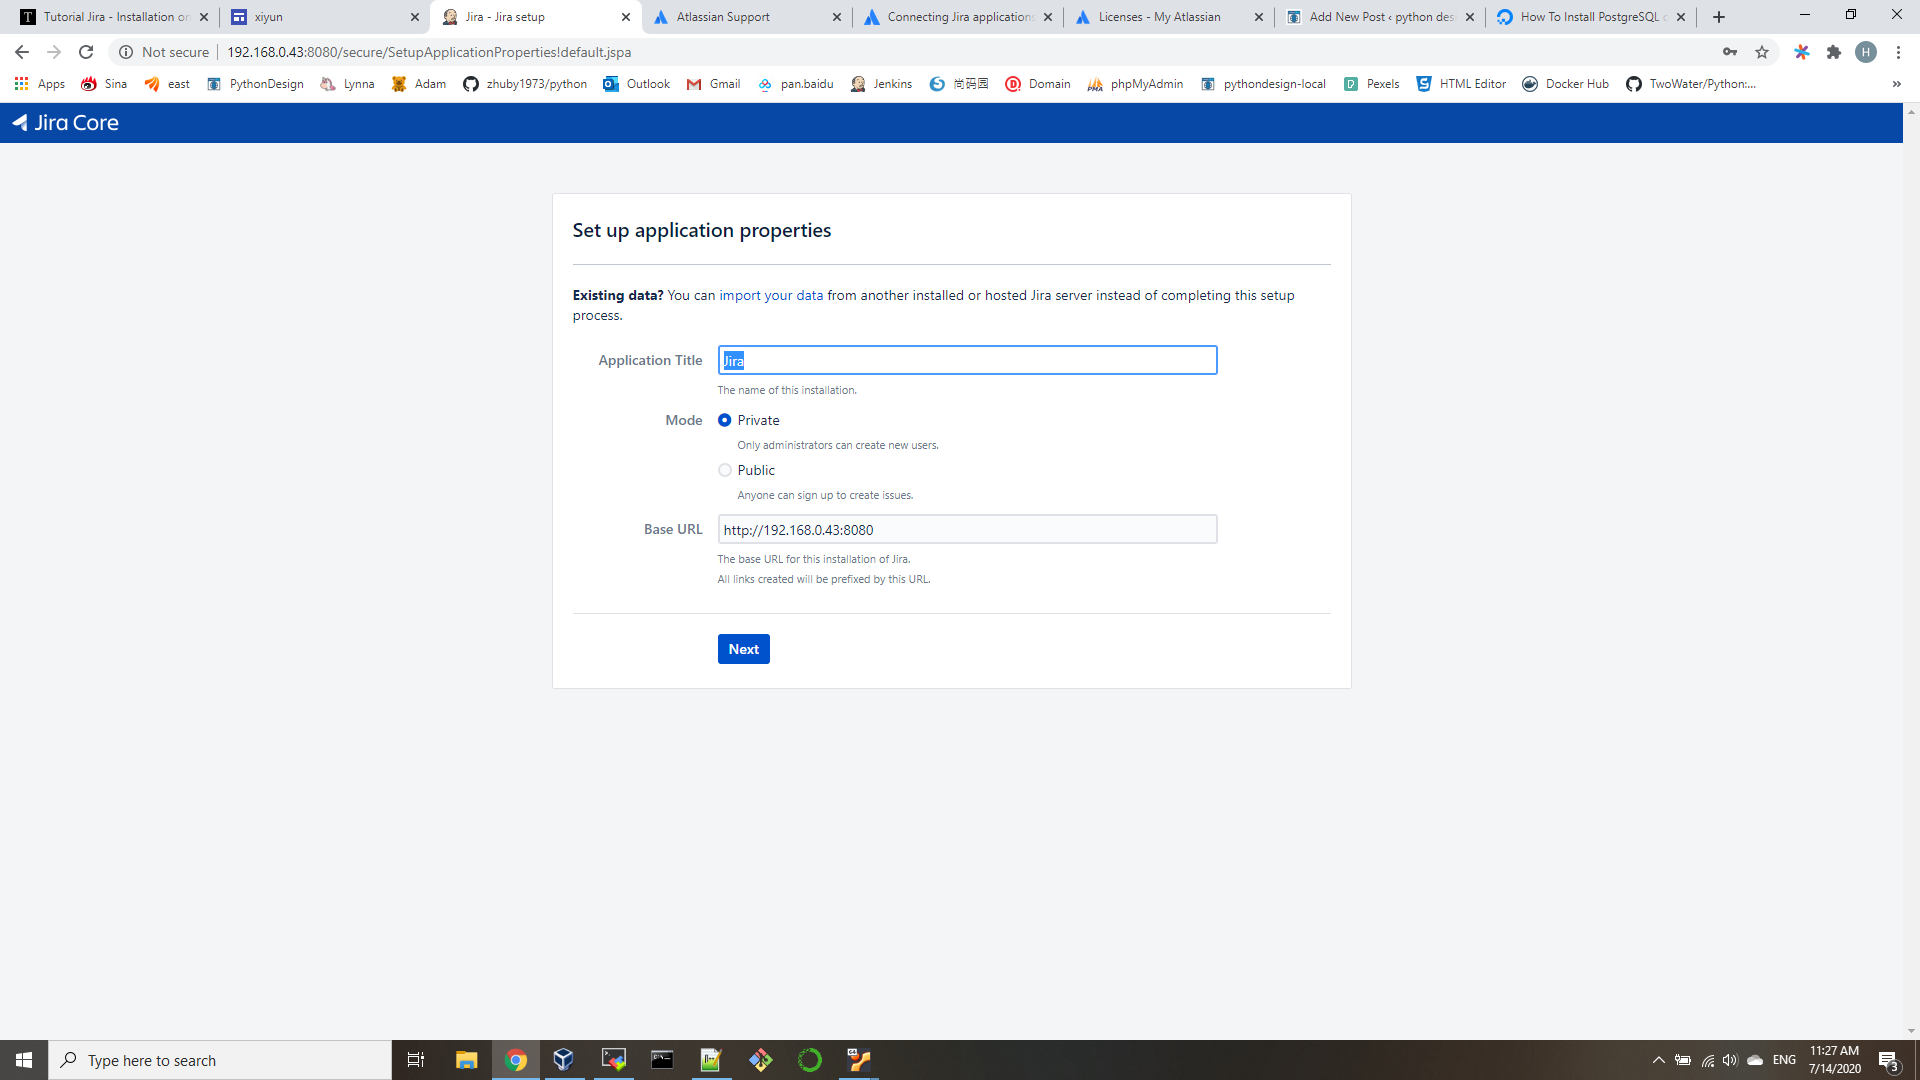
    choose "I’ll set it up myself" on first page, then input Postgresql DB info:


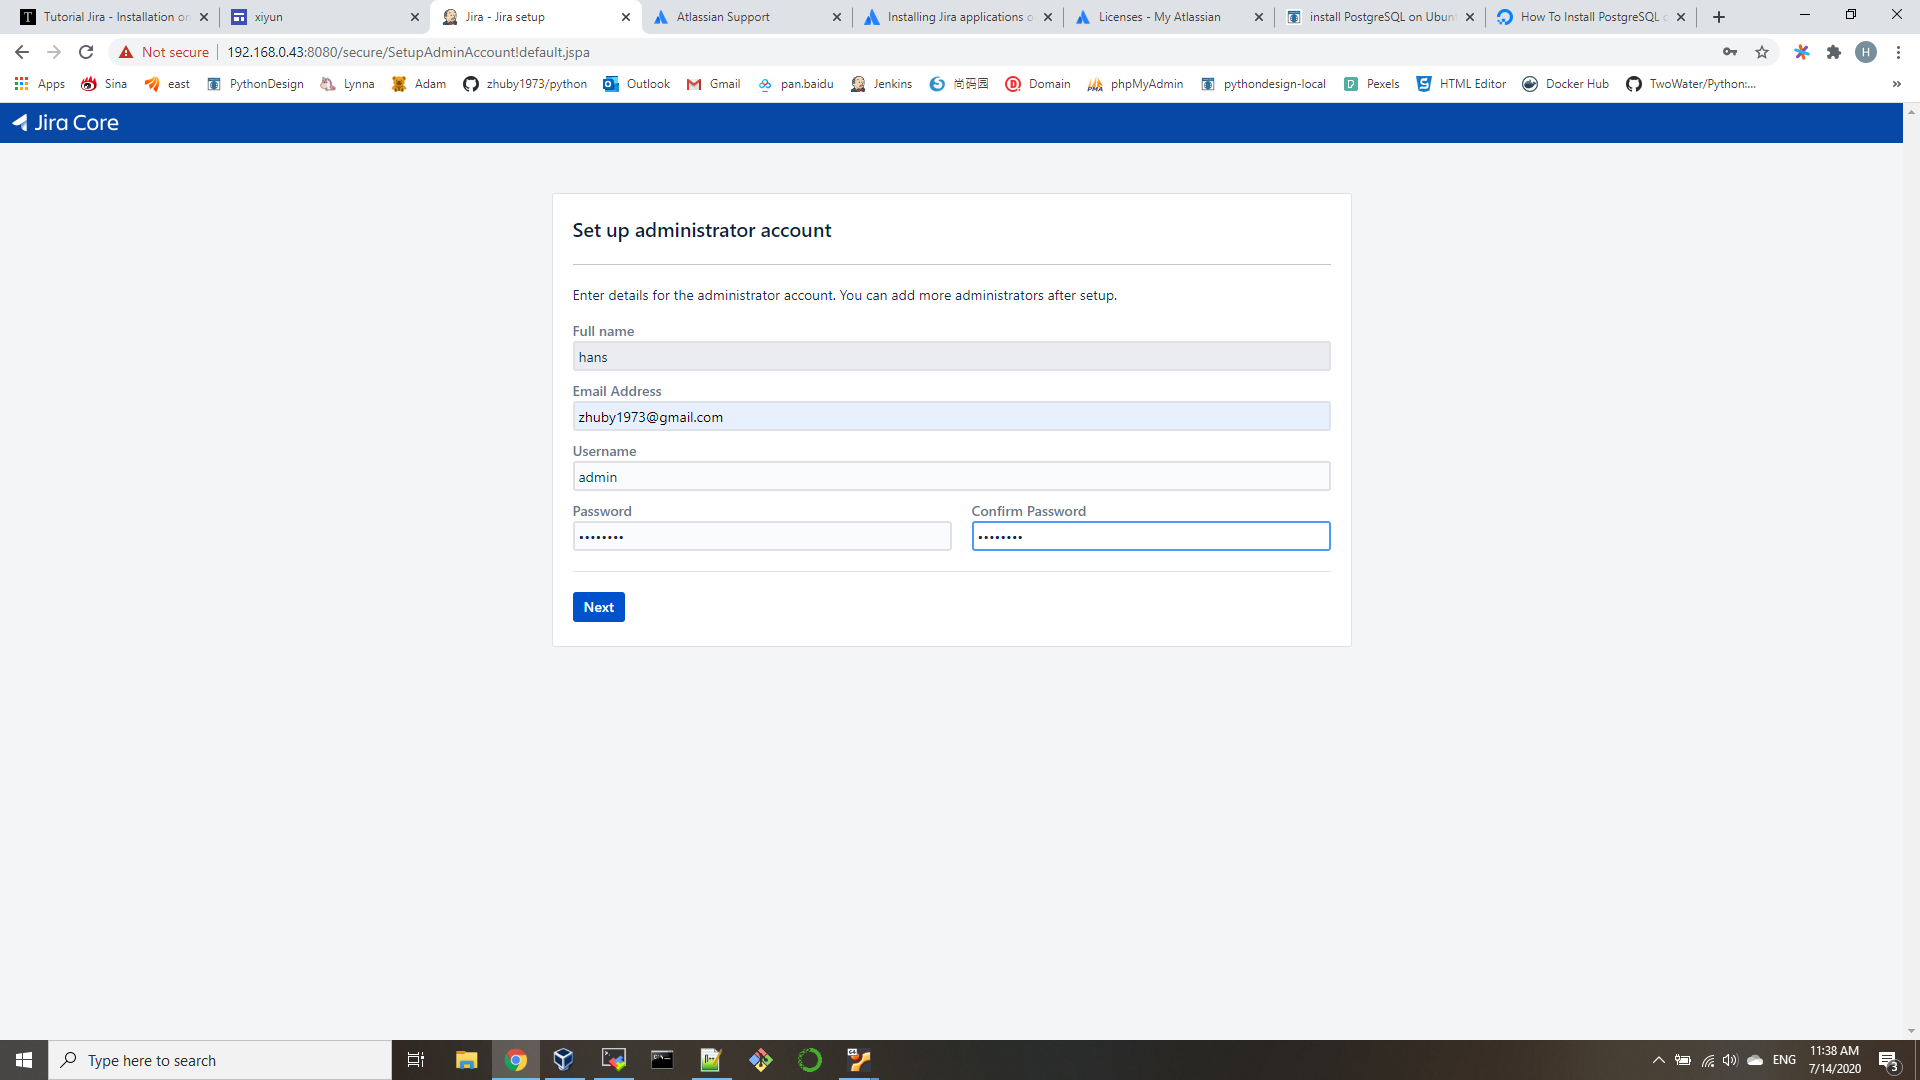
    click default for other pages, then you will get WelcomeToJIRA:

install PostgreSQL on Ubuntu 20.04

Step 1 — Installing PostgreSQL
sudo apt update
sudo apt install postgresql postgresql-contrib
Step 2 — Create PostgreSQL Roles and Databases
we will create OS user jiradb, postgresql role jiradb and database jiradb!
A. with root add OS user: adduser jiradb
B. add postgresql role:
root@ubunu2004:/opt/jira/lib# sudo -i -u postgres
postgres@ubunu2004:~$ createuser –interactive
Enter name of role to add: jiradb
Shall the new role be a superuser? (y/n) y
C. create db:
postgres@ubunu2004:~$ createdb -E UNICODE -l C -T template0 jiradb
postgres@ubunu2004:~$ psql
postgres=# GRANT ALL PRIVILEGES ON DATABASE jiradb TO jiradb
postgres-# \q
Step 3 — Test the connection
postgres@ubunu2004:~$ psql -U jiradb -h localhost -W
Password:
psql (12.2 (Ubuntu 12.2-4))
SSL connection (protocol: TLSv1.3, cipher: TLS_AES_256_GCM_SHA384, bits: 256, compression: off)
Type "help" for help.
jiradb=# \z

NOTE:
You can now start the database server using:
pg_ctlcluster 12 main start
Data directory: /var/lib/postgresql/12/main
Log file: /var/log/postgresql/postgresql-12-main.log
Port: 5432

My First SoapUI SOAP project

  1. create a SOAP API project
    Ctrl-N to create a new SOAP project:
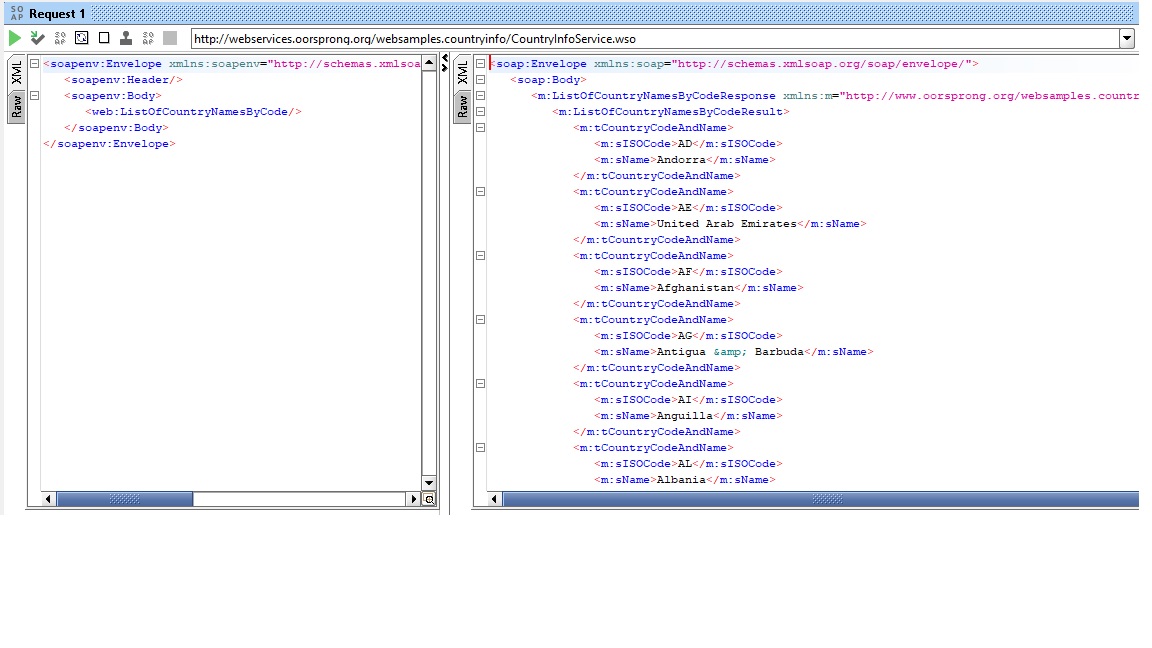
    we will use http://webservices.oorsprong.org/websamples.countryinfo/CountryInfoService.wso?WSDL for demo
  2. get info by click ListOfCountryNamesByCode
  3. create TestSuite -> Test Cases
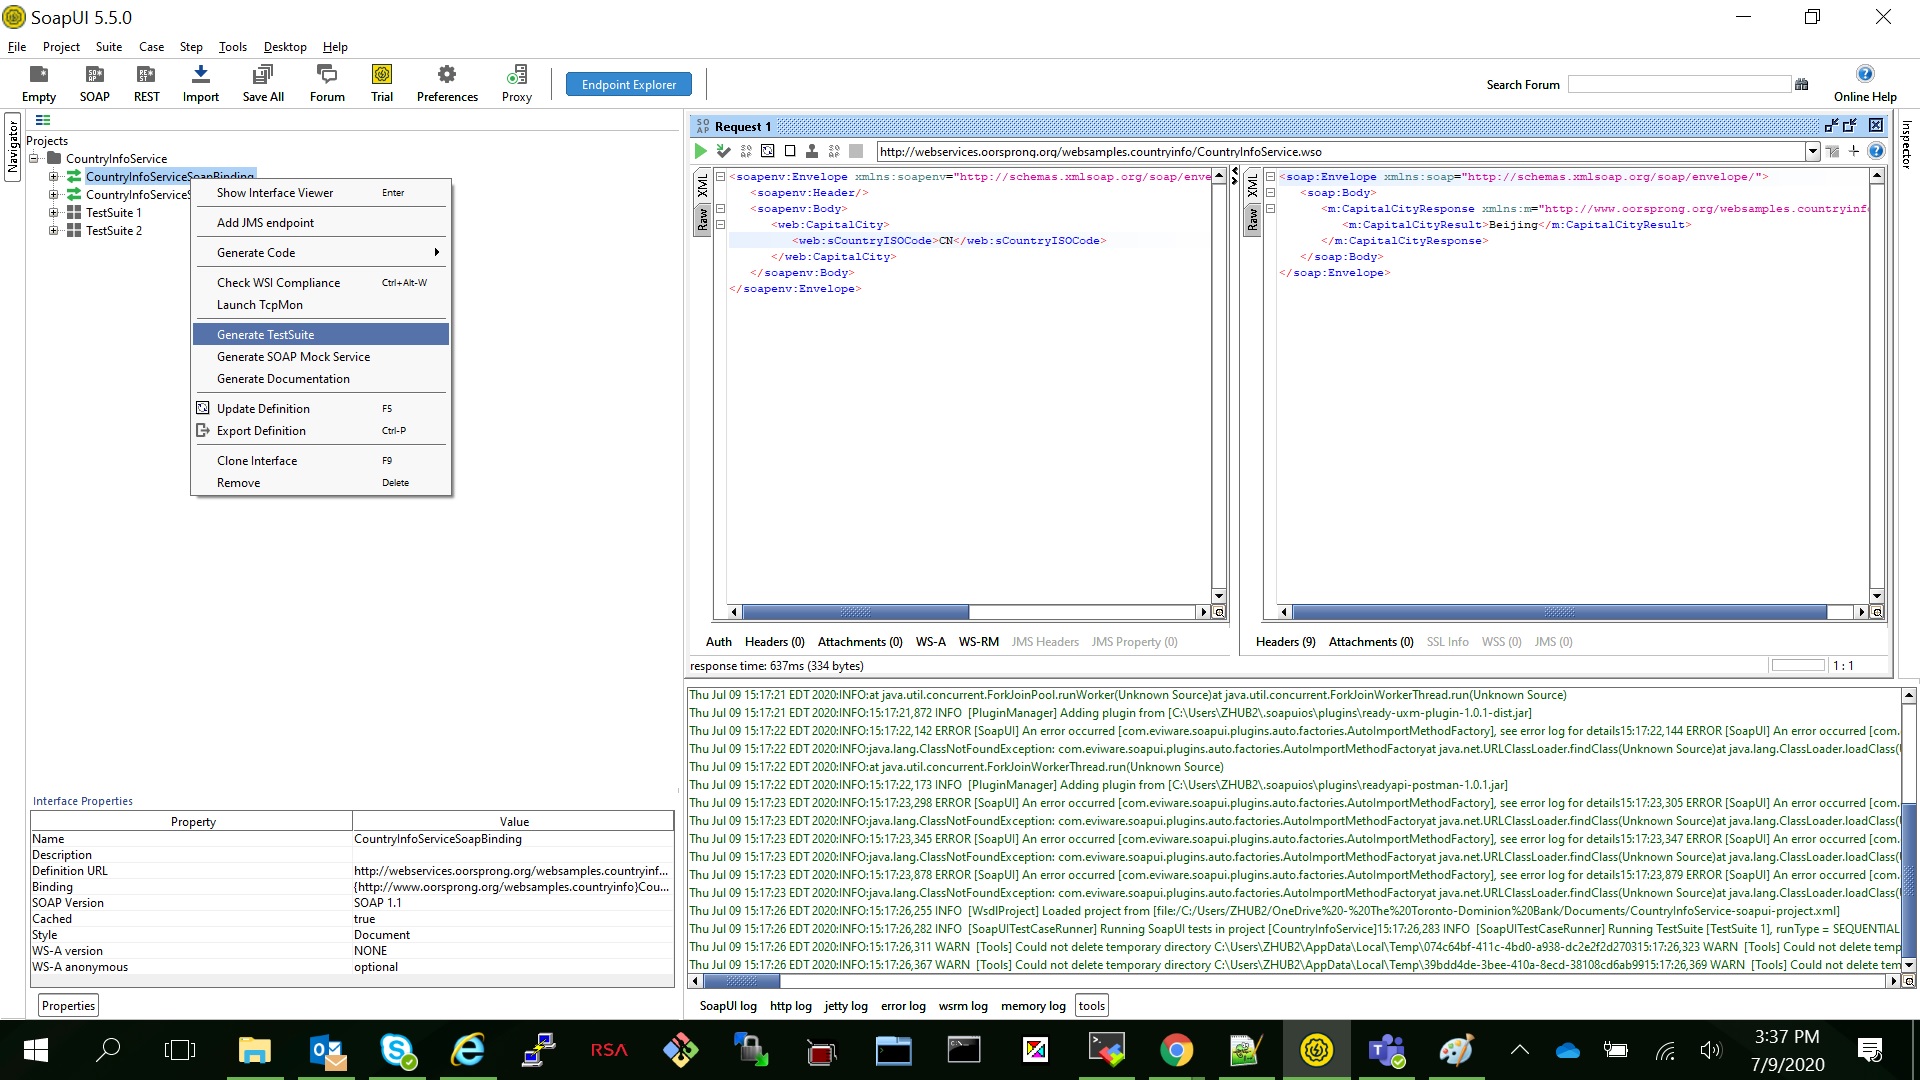
    right click "CountryInfoServiceSoapBinding" and select "Generate Testsuite"

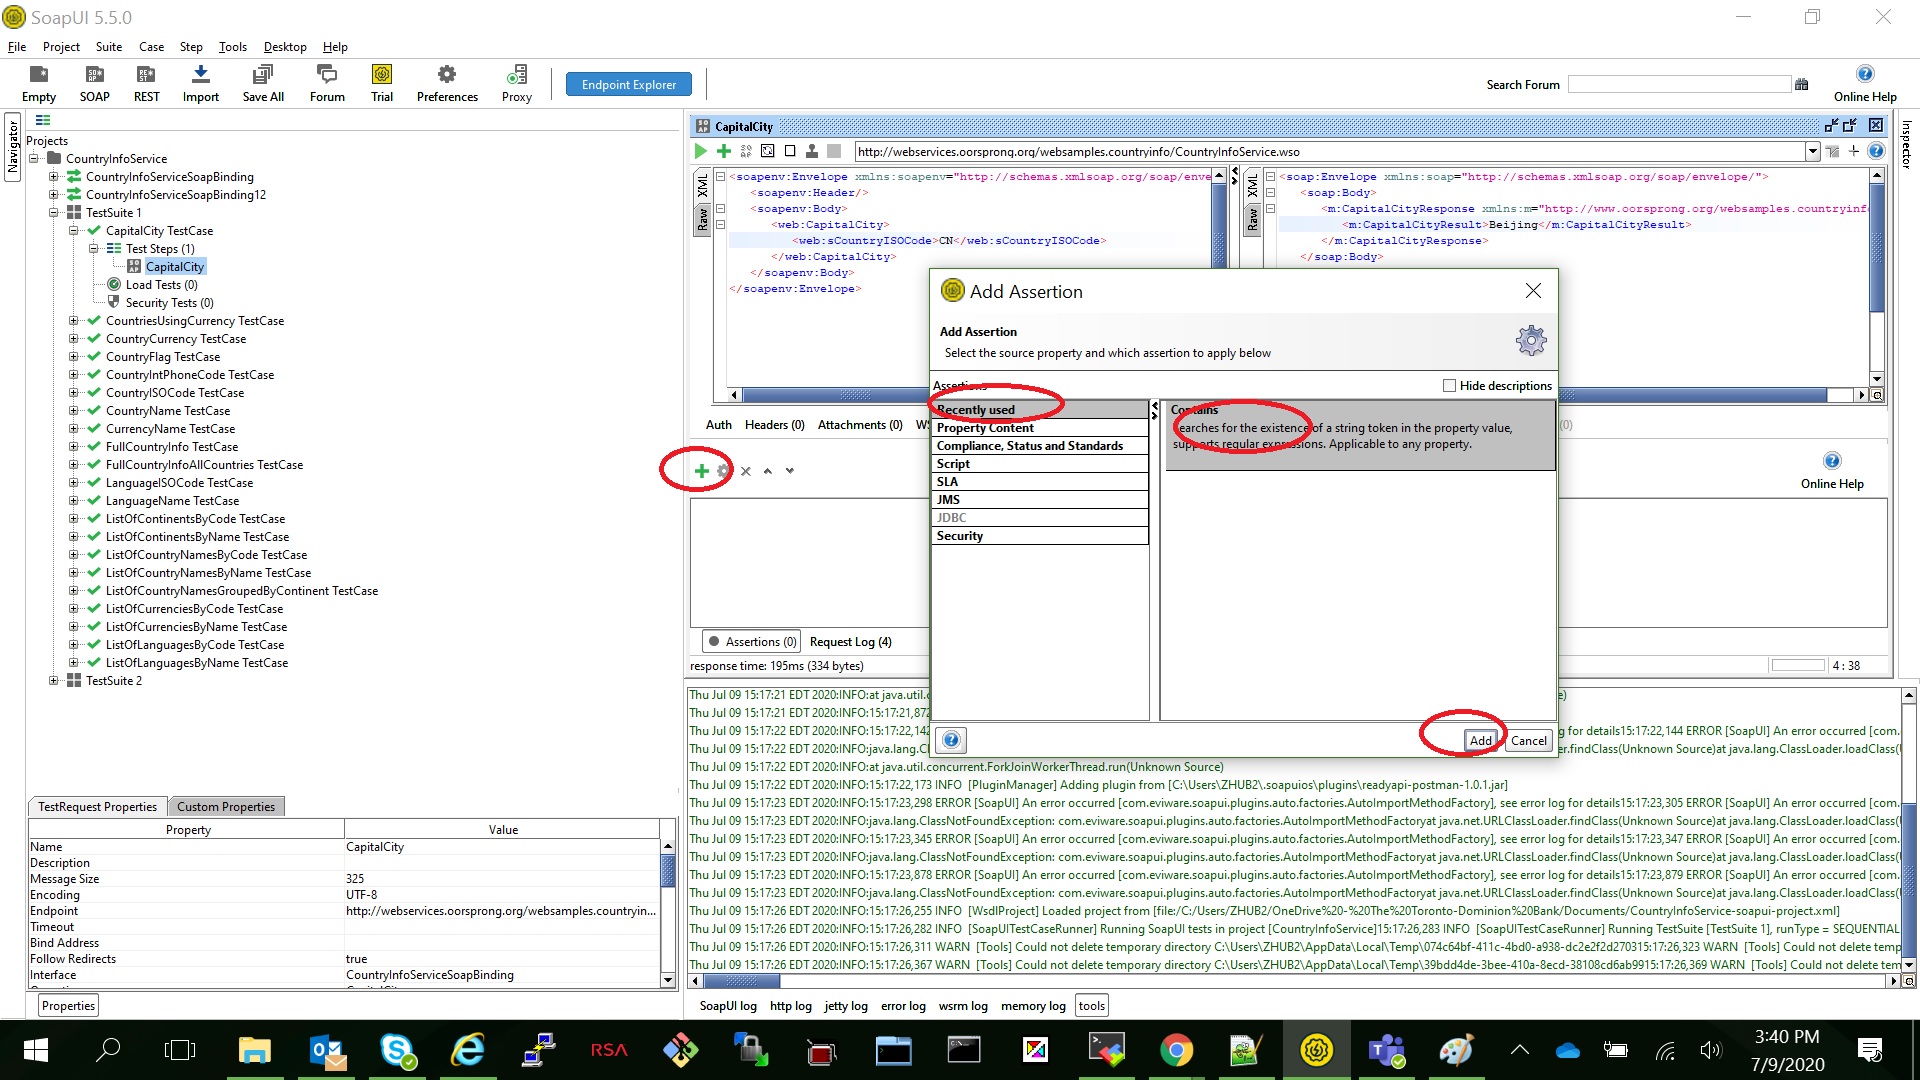
  4. add Assertions
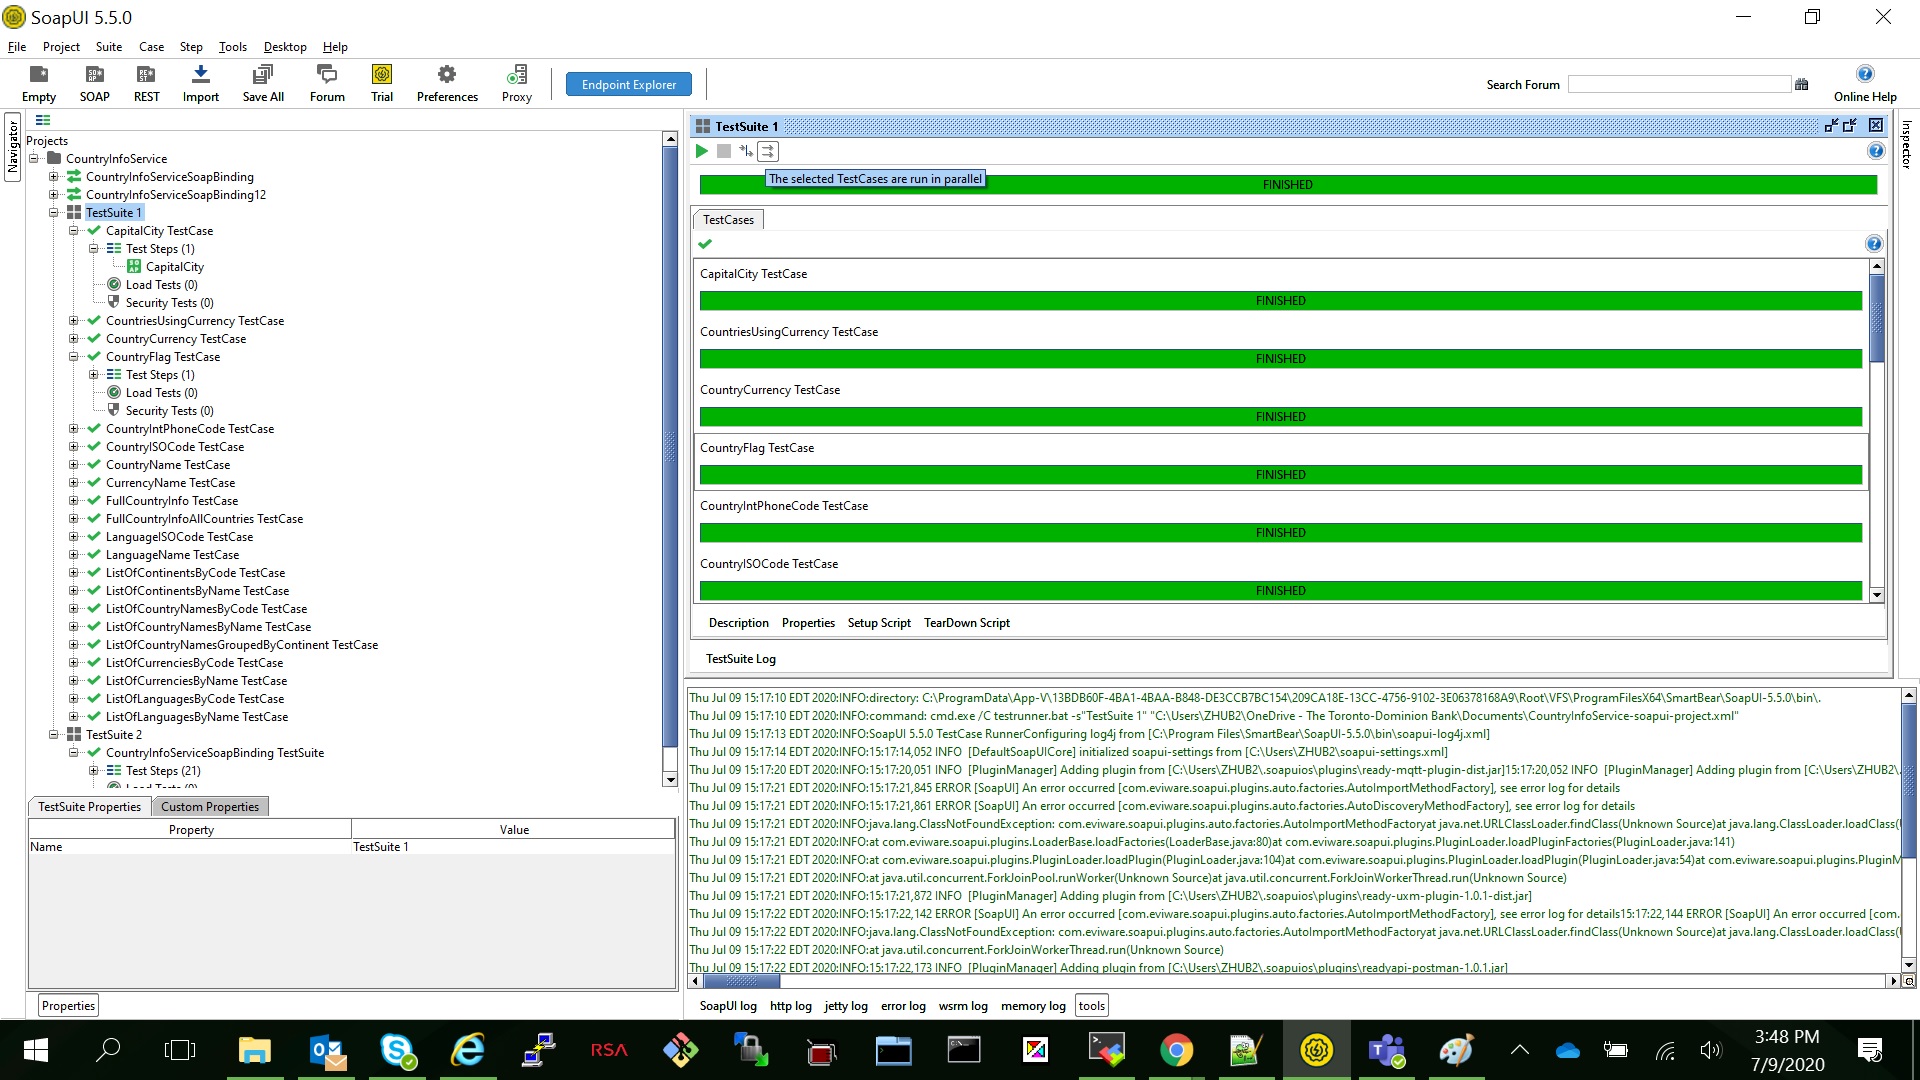
  5. how to run in sequence and in parallel
  6. how to create single testcase with one request
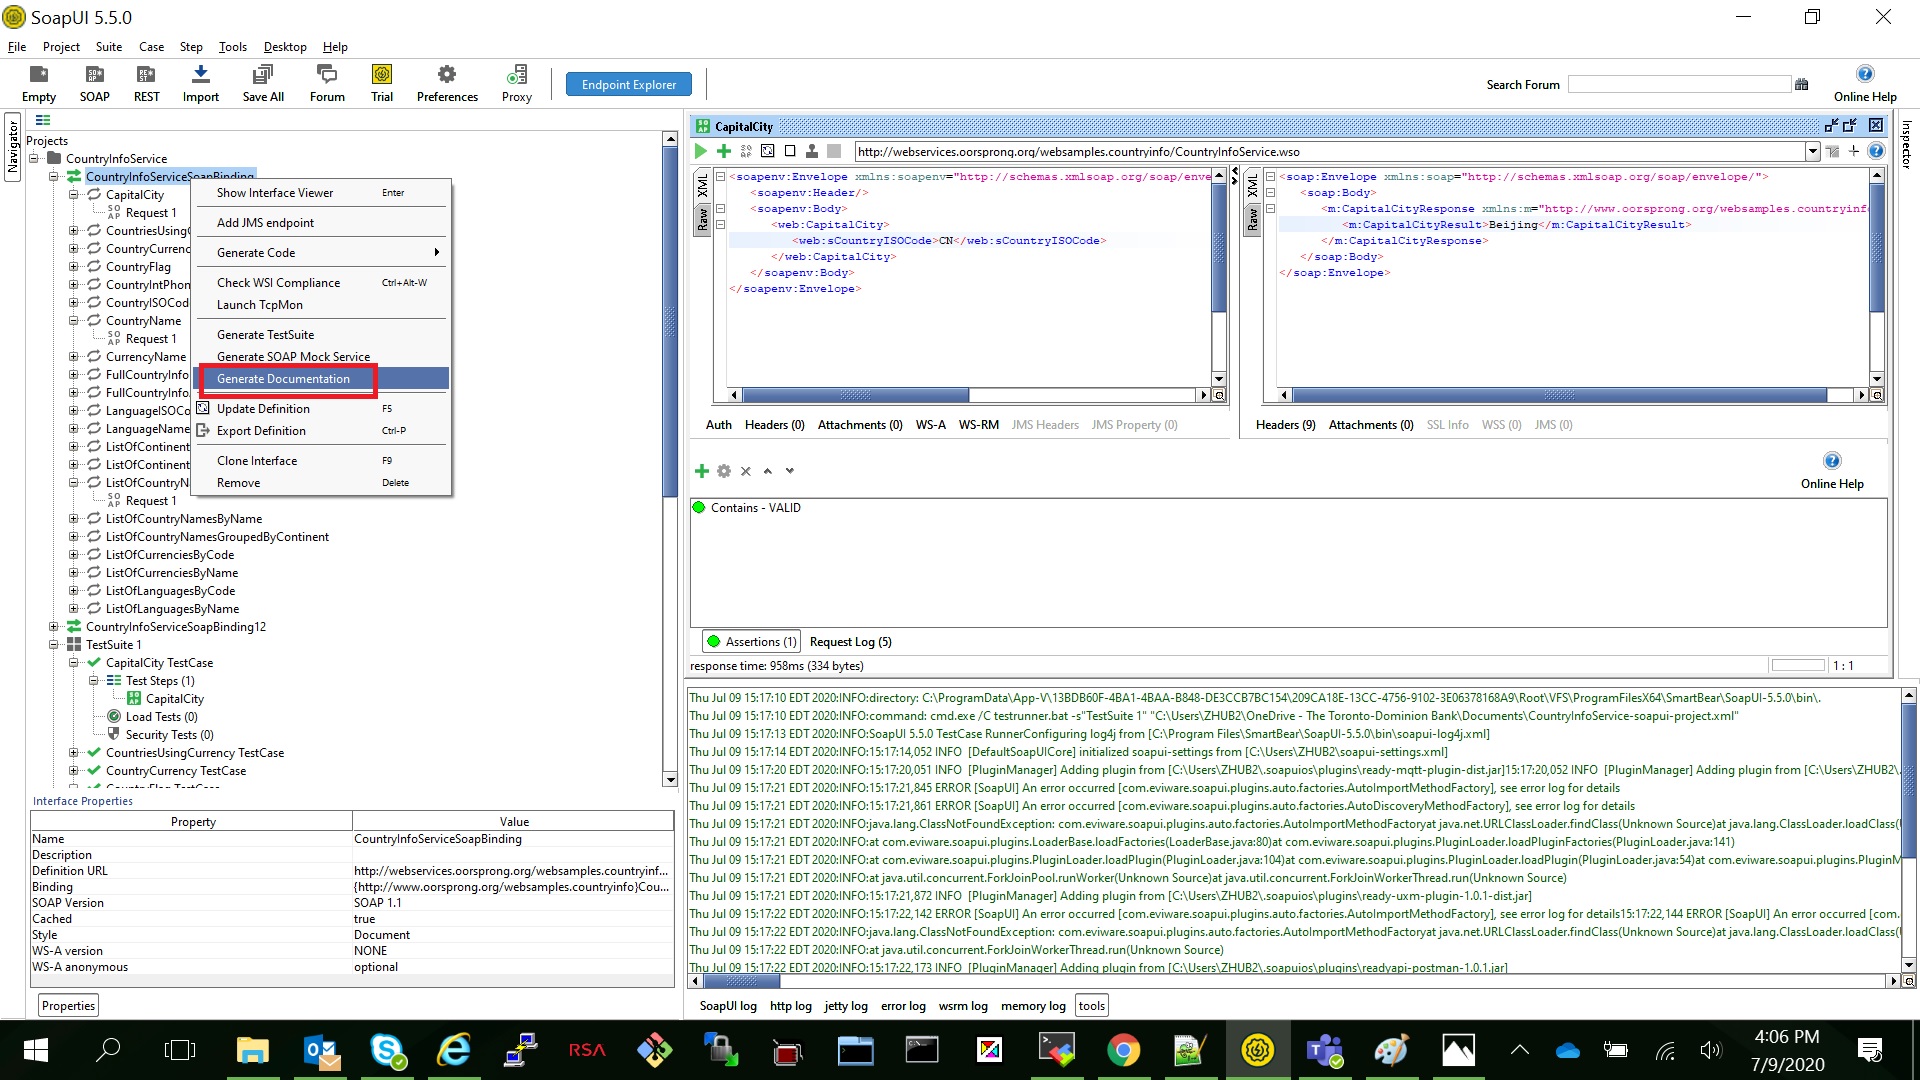
  7. how to create API Documention

Install Ansible on Ubuntu 20.04 and run ansible-playbook

  1. create user ID and sudo rules
    create ID ansible on all Linux:
    sudo adduser ansible
    echo "ansible ALL=(ALL) NOPASSWD:ALL" | sudo tee /etc/sudoers.d/ansible
  2. generate SSH key and copy to client servers:
    ssh-keygen
    ssh-copy-id ansible@192.168.0.143
    ssh-copy-id ansible@192.168.0.61
  3. install ansible:
    sudo apt update
    sudo apt install ansible
  4. add client servers:
    sudo vi /etc/ansible/hosts
    [servers]
    server1 ansible_host=192.168.0.143
    server2 ansible_host=192.168.0.61
  5. verify ansible hosts and run playbook
    sudo ansible-inventory –list -y
    mkdir ~/ansible-demo
    create few ansible-playbook in ~/ansible-demo:

    
    ansible@ubunu2004:~/ansible-demo$ cat install-apt.yml
    ---
    - hosts: all
    become: yes
    tasks:
    - name: Install packages
    apt:
      name:
      - ntpdate
      - nmap
      state: latest
      cache_valid_time: 3600
    ansible@ubunu2004:~/ansible-demo$ cat linux-echo.yml
    ---
    - hosts: all
    become: yes
    tasks:
    - name: Echo the Date to a tmp file
    shell: echo  "`date`"> /tmp/date
    - name: Echo String to a tmp file
    shell: echo  "Techexpert.tips is a greate website" > /tmp/techexpert
run the playbook:
```bash
ansible@ubunu2004:~/ansible-demo$ ansible-playbook install-apt.yml

PLAY [all] ***************************************************************************************************************************************************************************************************

TASK [Gathering Facts] ***************************************************************************************************************************************************************************************
ok: [server1]
ok: [server2]

TASK [Install packages] **************************************************************************************************************************************************************************************
changed: [server1]
changed: [server2]

PLAY RECAP ***************************************************************************************************************************************************************************************************
server1                    : ok=2    changed=1    unreachable=0    failed=0    skipped=0    rescued=0    ignored=0
server2                    : ok=2    changed=1    unreachable=0    failed=0    skipped=0    rescued=0    ignored=0

Ansible Playbook Example – Reading a Variable from the Command-line
This Ansible playbook example named linux-scan.yml will install the Nmap package.
It will read the IP addres from the IP_VAR variable and use NMAP to scan this host.

---
- hosts: all
  become: yes
  tasks:
  - name: Install packages
    apt:
      name:
      - nmap
      state: latest
      cache_valid_time: 3600
  - name: Scan host using nmap
    shell: nmap "{{ ip_var }}"
    register: out

  - debug: var=out.stdout_lines

To run this Ansible playbook, use the following command:
ansible-playbook --extra-vars ip_var=192.168.0.143 linux-scan.yml